The Complete Guide to Sourdough
Everything you need to build a starter from scratch, keep it alive, and bake your first real sourdough loaf.
Sourdough has a reputation for being fussy, but at its core it's one of the oldest and simplest ways to bake bread. Instead of a packet of commercial yeast, you're relying on wild yeast and bacteria that live in flour and in the air around you. Once you understand the rhythm of feeding a starter and reading dough, sourdough becomes less of a mystery and more of a habit. This guide walks through building a starter from nothing, keeping it healthy long term, and baking a straightforward loaf once your starter is ready.
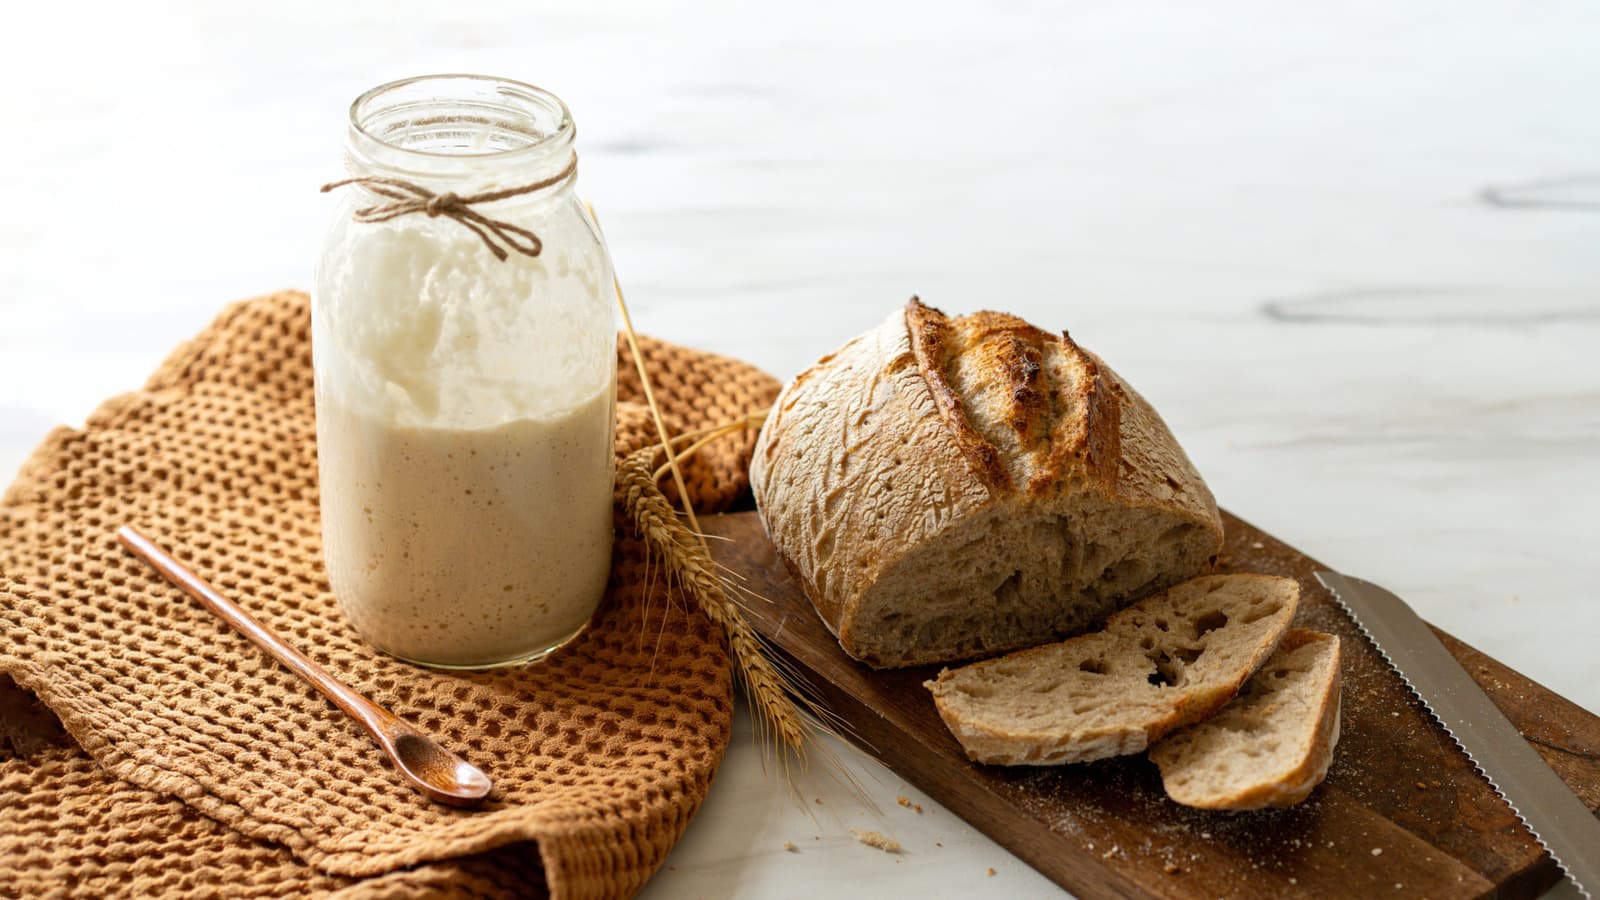
What Makes Sourdough Different
Commercial yeast is a single, cultivated strain bred to rise dough quickly and predictably. A sourdough starter is a small ecosystem instead: wild yeast for lift, plus lactic acid bacteria that add tang and help develop the dough's structure. Because every starter picks up slightly different organisms depending on the flour used and the environment it lives in, no two starters (and no two loaves) taste exactly alike. That's part of the appeal. It also means sourdough moves at its own pace, so this is a slower style of baking that rewards patience over precision timing.
Building a Starter From Scratch
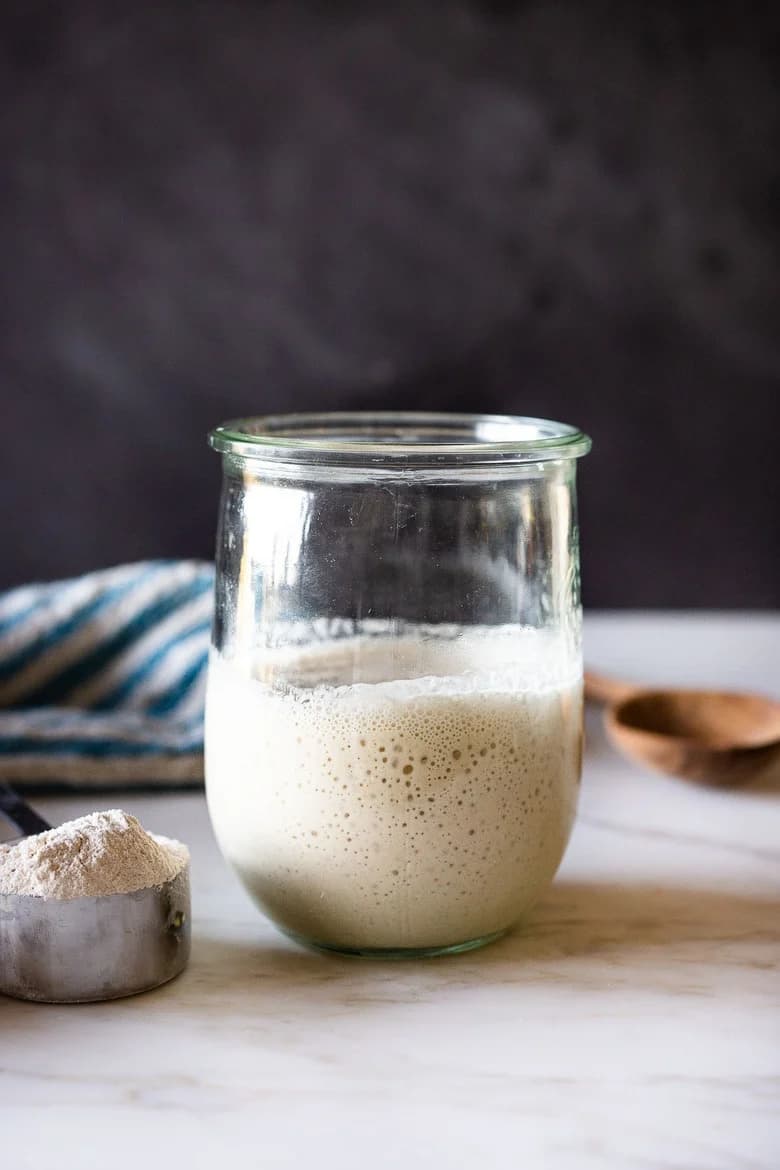
You only need two ingredients: flour and water. Whole wheat or rye flour works best for the first few days since it carries more of the wild yeast and bacteria found in the grain's bran and germ, giving your starter a head start. You can switch to all-purpose or bread flour once things are active.
- 1Day 1: Combine 50 grams of whole wheat or rye flour with 50 grams of room temperature water in a clean jar. Stir until no dry flour remains, then cover loosely and leave at room temperature (ideally 70 to 75°F) for 24 hours.
- 2Day 2: You may see a few small bubbles, or nothing at all. Both are normal this early. Discard about half the mixture, then feed it with another 50 grams of flour and 50 grams of water. Stir, cover, and wait another 24 hours.
- 3Days 3 to 6: Continue the same discard-and-feed routine once a day. You should start seeing more consistent bubbling and a slightly sour, yeasty smell. If you can, switch to twice-daily feedings once it's rising noticeably between feeds, which speeds things along.
- 4Days 5 to 14: Your starter is ready when it reliably doubles in size within 4 to 8 hours of a feeding and smells pleasantly tangy rather than sharp or unpleasant. Some starters get there in 5 days, others take closer to 2 weeks, especially in a cooler kitchen. Don't rush it.
Knowing When Your Starter Is Ready
The float test is the easiest way to check. Drop a small spoonful of starter into a glass of room temperature water right after it's peaked. If it floats, it's full of enough gas to leaven bread and you're ready to bake. If it sinks, give it another feeding or two and test again. A pungent smell, like nail polish remover, in the first week is normal too, and usually mellows into a more pleasant, yogurt-like tang as the yeast and bacteria populations balance out.
Maintaining Your Starter Long Term
Once established, a starter can live indefinitely with the right care. How often you feed it depends on where you keep it.
- Room temperature: feed once or twice a day if you're baking often, using equal parts starter, flour, and water by weight.
- Refrigerator: feed once a week if you bake less frequently. Pull it out and let it come to room temperature for a feeding before using it in a recipe.
- Discard: rather than tossing what you remove at each feeding, save it for pancakes, crackers, or waffles. It won't have much rising power on its own, but it adds a lot of flavor.
- Traveling or taking a break: a well fed starter can sit in the fridge for a couple of weeks without attention. Just expect to feed it once or twice to wake it back up before baking.
Baking Your First Loaf
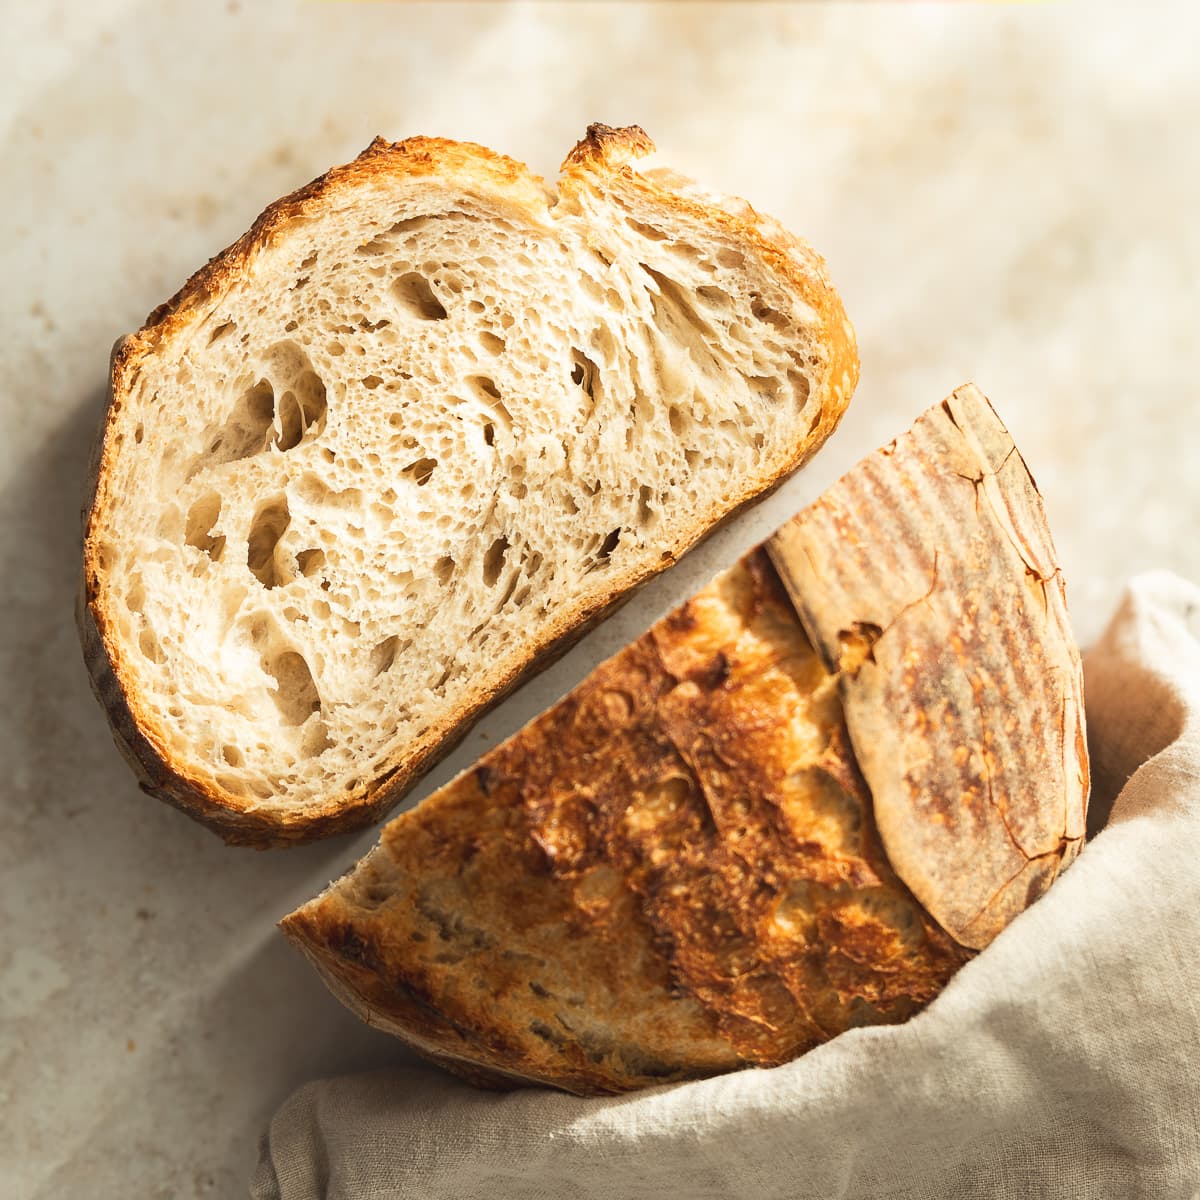
Once your starter passes the float test consistently, you're ready to bake. A basic sourdough loaf follows the same broad arc every time: build a levain, mix the dough, let it bulk ferment, shape it, give it a final proof, and bake it in a hot, steamy environment.
- 1The night before, mix a small amount of your starter with fresh flour and water to build a levain, the portion that will actually leaven your bread. Let it sit at room temperature until bubbly and risen, usually 8 to 12 hours.
- 2Mix the levain with your remaining flour, water, and salt until no dry flour remains, then let the dough rest for 30 minutes (a step called autolyse that helps the flour hydrate).
- 3Bulk ferment the dough for 4 to 6 hours at room temperature, folding it over on itself every 30 to 45 minutes for the first two hours to build strength.
- 4Once the dough looks noticeably puffier and jiggles slightly when the bowl is nudged, shape it into a tight round or oval loaf.
- 5Place the shaped dough in a floured proofing basket, seam side up, and either let it proof at room temperature for 2 to 3 hours or refrigerate it overnight for a more convenient schedule and deeper flavor.
- 6Preheat a Dutch oven to 450°F, score the top of the dough with a sharp blade, and bake covered for 20 minutes, then uncovered for another 20 to 25 minutes until deeply golden.
Troubleshooting Common Problems
- Dense, gummy crumb: usually means the dough was under-proofed, or the starter wasn't active enough when you mixed the dough. Wait for a starter that reliably doubles and passes the float test before baking.
- Starter isn't rising: check the temperature of your kitchen first, since cool rooms slow fermentation significantly. Also make sure you're discarding before each feeding rather than just adding more flour and water on top.
- Dough spreads flat instead of holding its shape: this usually points to a dough that's over-proofed or under-developed. Build more strength during bulk fermentation with folds, and keep an eye on proof time in warm weather.
- Hooch (a layer of dark liquid) on top of your starter: this just means it's hungry. Pour it off or stir it in, then feed as usual.
Tips for Going Further
Sourdough gets easier with repetition more than with any single trick. Bake on a consistent schedule if you can, take notes on what worked, and don't be afraid to adjust hydration or timing to fit your kitchen. Once you've got a reliable loaf down, that same starter can carry you into focaccia, pizza dough, crackers, and beyond.
- A loaf that turns out well and often gets requested by friends and neighbors is exactly the kind of thing that pushes people from casual baking into something bigger. Plenty of home bakers who started with one temperamental jar of starter eventually end up selling their bread locally through platforms like Homebaked once people start asking for a loaf of their own.
- Keep a small notebook or note on your phone logging hydration percentage, proof times, and oven temperature for each bake so you can repeat your best results.
- Freeze extra starter in a pinch as insurance, in case your main jar ever gets contaminated or neglected for too long.