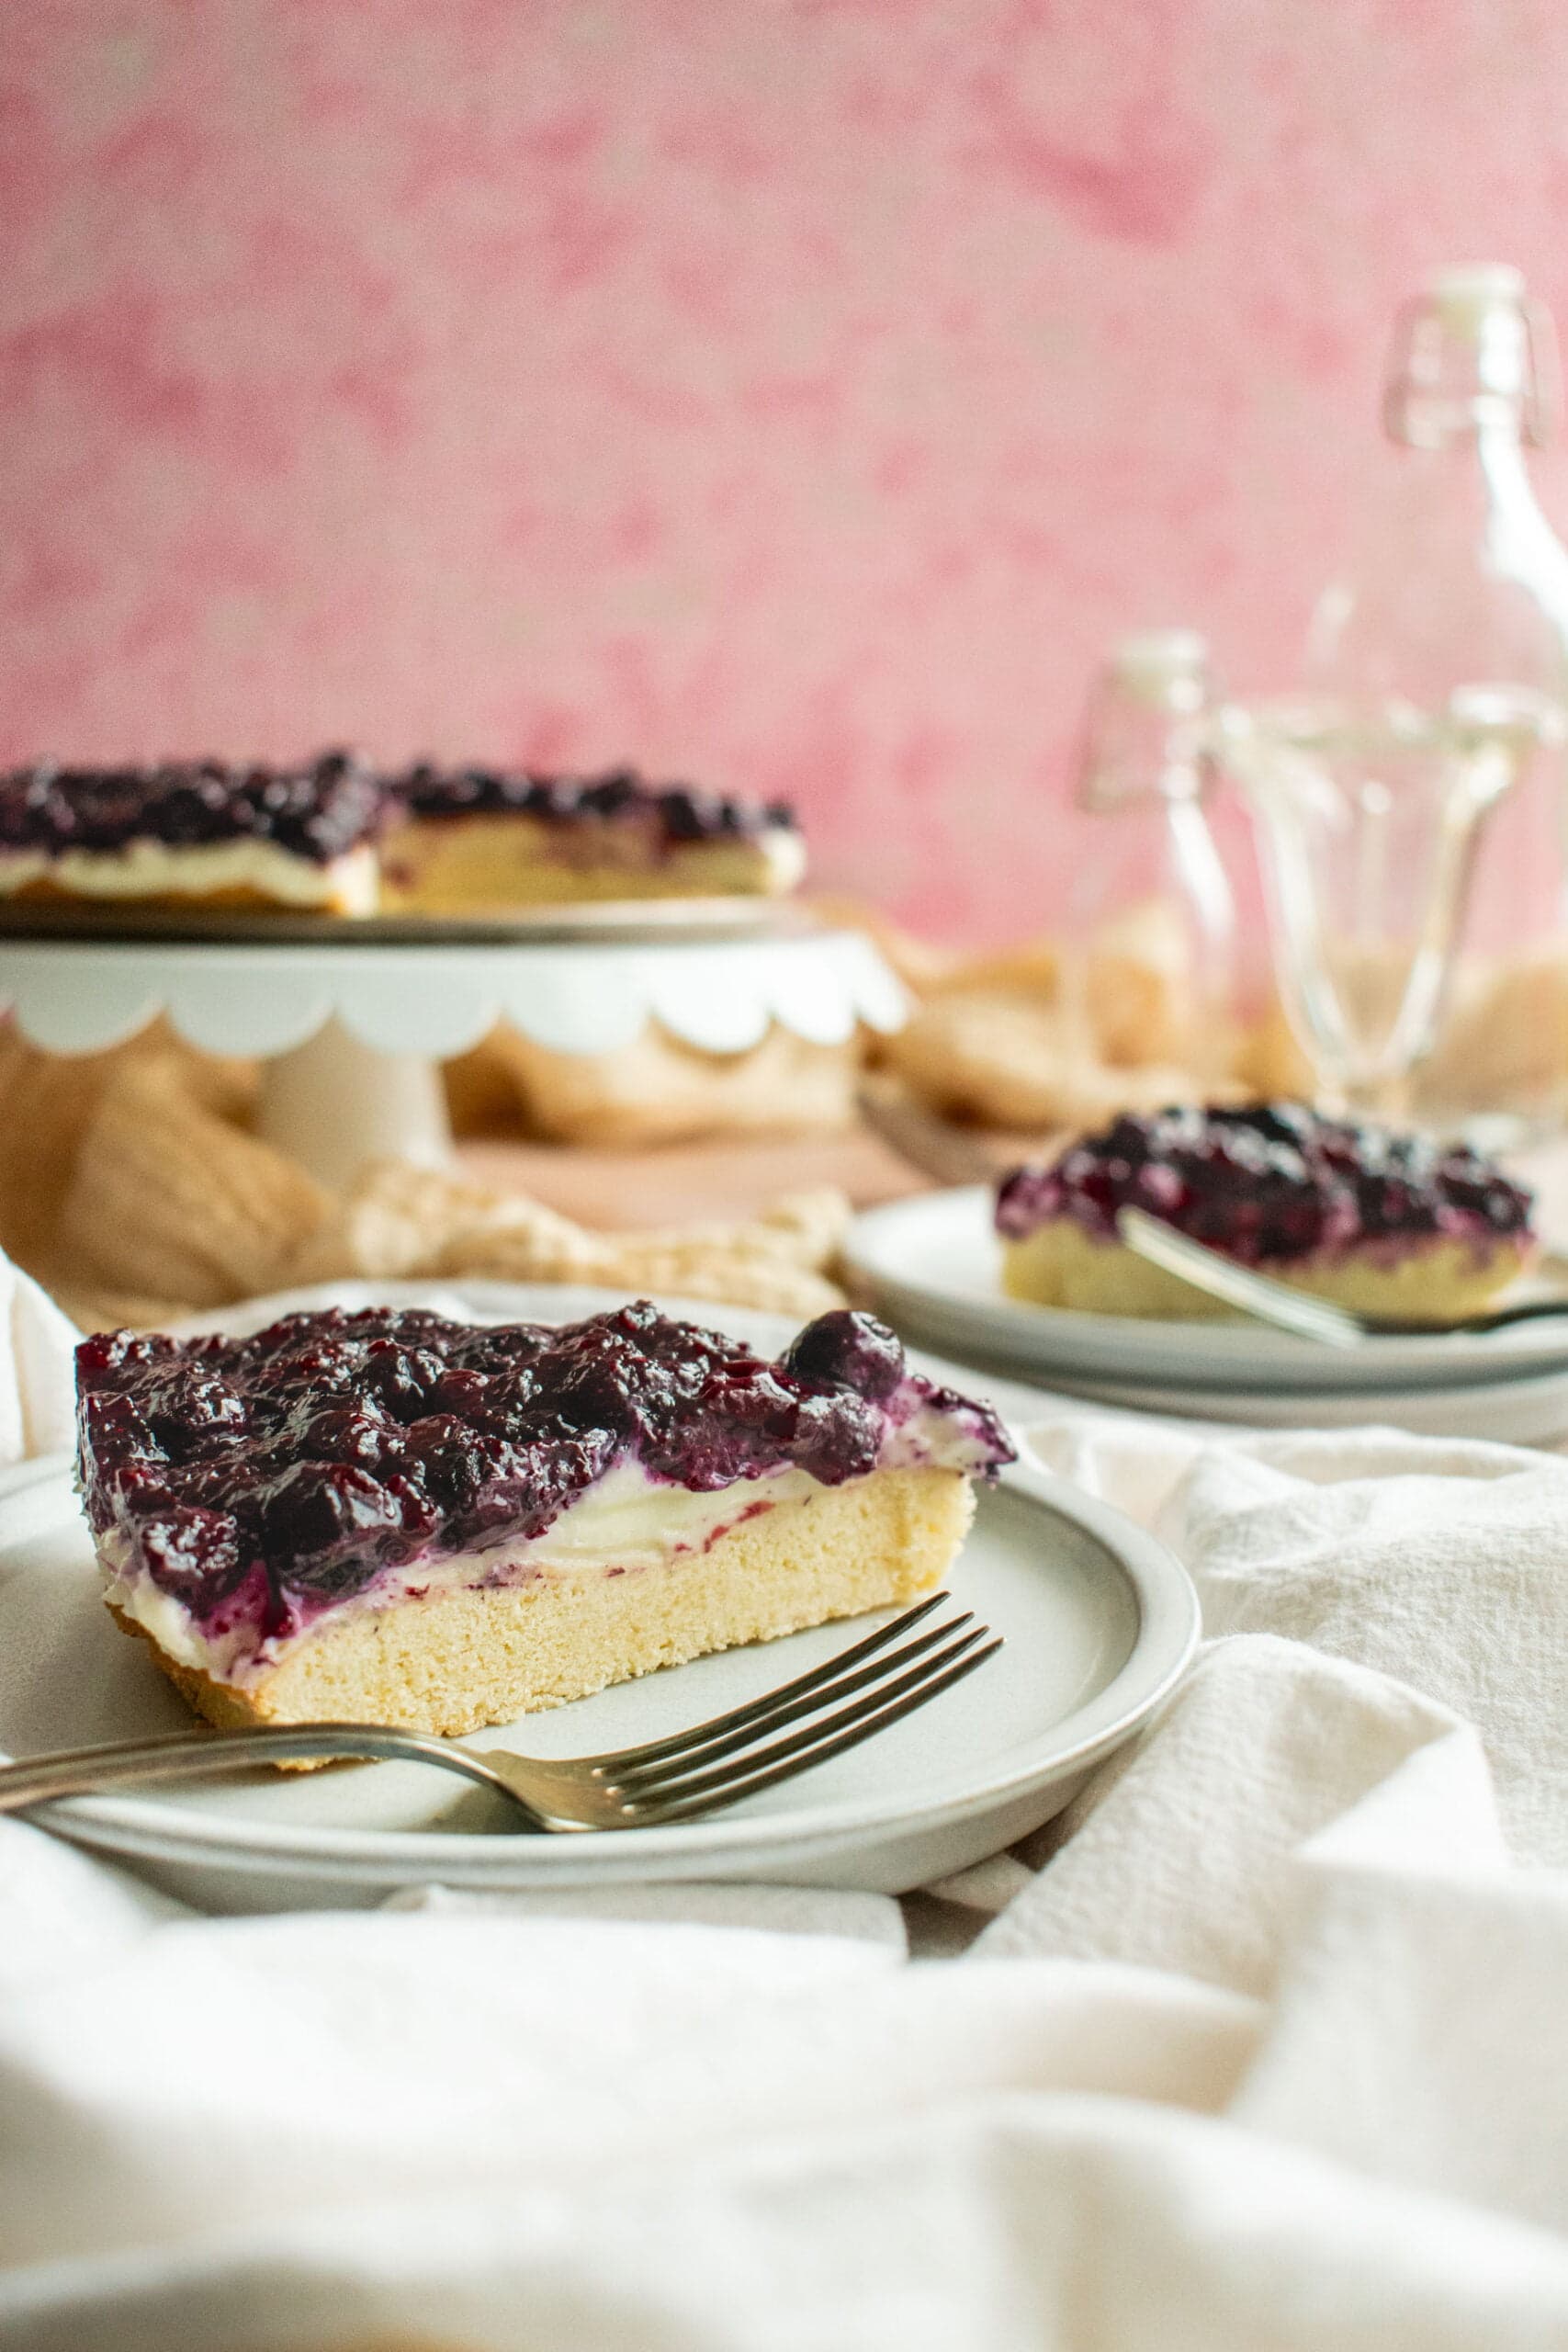
Berry Torte, Gluten Free
A dense, buttery almond-scented cake with three cups of berries sunk into the top, where they collapse into jammy pockets as it bakes. One bowl, one springform pan, and it looks like you fussed.
Ingredients
Makes One 9-inch torte (10 slices)
Torte
Berries and topping
To serve
Instructions
- 1
Heat the oven and prep the pan
Set a rack in the lower third of the oven and heat to 350°F (175°C). Butter the base and sides of a 9-inch springform pan and line the base with a round of parchment. Set the pan on a rimmed baking sheet — berry juice has a way of finding the seam in a springform, and this saves you scrubbing the oven floor.
- 2
Get the berries ready
If you're using fresh berries, rinse and dry them thoroughly on a towel; wet fruit waterlogs the crumb. Halve or quarter any strawberries so every piece is roughly blueberry-sized. If you're using frozen berries, leave them frozen and go straight from the freezer to the top of the batter — thawing them first floods the cake.
- 3
Cream the butter, sugar, and zest
Beat the softened butter, granulated sugar, and lemon zest together on medium speed for 3 to 4 minutes, until pale and noticeably fluffy. Rubbing the zest into the sugar as it creams pulls the citrus oils out, and you'll smell the difference. Scrape the bowl once partway through.
- 4
Add the eggs and flavorings
Beat in the eggs one at a time, mixing a full 30 seconds after each so the batter stays smooth rather than breaking into curds. Mix in the vanilla, almond extract, and sour cream. If it does look slightly split, don't panic — the flour will bring it back together.
- 5
Mix in the dry ingredients
Whisk the gluten-free flour blend, xanthan gum (skip it if your blend already lists it), almond flour, baking powder, and salt together, then add all at once and mix on low until smooth. Unlike wheat batter, there's no gluten to overwork here, so a solid 30 seconds of mixing is a good thing — it helps the starches start taking on moisture.
- 6
Rest the batter
Cover the bowl and leave it on the counter for 25 minutes. Gluten-free starches and rice flour absorb liquid slowly, and this rest is what turns a gritty crumb into a smooth one. The batter will visibly thicken and lose its sandy look — that's your cue it's ready.
- 7
Spread and top with berries
Scrape the rested batter into the pan and spread it level; it's stiffer than the wheat version, so warm your spatula under hot water and dry it if it drags. Scatter the berries evenly to the edges, pressing them in so they sit half-submerged. Stir the tablespoon of sugar with the cinnamon and sprinkle over the fruit, drizzle on the lemon juice, and scatter the sliced almonds if using.
- 8
Bake
Bake for 60 to 70 minutes — a few minutes longer than the wheat version, since the rested batter holds more moisture. Go by color and feel rather than the clock: the top should be deep golden, the berries bubbling, and the center should spring back when pressed. A skewer between two berries should come out clean, and if in doubt give it another 5 minutes, because a slightly underbaked gluten-free crumb is unpleasantly gummy.
- 9
Cool and release
Cool in the pan on the rack for a full 45 minutes before releasing the collar — gluten-free cakes are notably fragile while warm and this one needs the extra time to firm up. Cool another 30 minutes before slicing, and dust with powdered sugar just before serving.
You did it! Help us bring baking back home by selling your delicious baked goods on Homebaked!
Baker's Tips
- 1.
Three cups of berries is the maximum this batter can hold. Pile on more and the center stays gummy no matter how long you bake it.
- 2.
A mix of berries beats a single type — raspberries go jammy and tart, blueberries stay plump and sweet, blackberries hold their shape. Aim for two or three kinds.
- 3.
Frozen berries work beautifully here and need no adjustment except about 5 extra minutes in the oven. Add them frozen and work quickly so they don't start bleeding into the batter.
- 4.
Softened butter means it dents under light finger pressure but still holds its shape. If it's greasy or glossy it's too warm, and the torte will bake up dense and squat.
- 5.
If the top is browning faster than the center is setting, tent loosely with foil for the last 15 minutes.
- 6.
This is one of the rare cakes that's better on day two — the fruit juices migrate into the crumb overnight and the whole thing turns more pudding-like.
- 7.
No springform? A 9-inch cake pan lined with a parchment sling works; cool it completely before lifting it out, since the fruit-heavy top is fragile while warm.
- 8.
A spoonful of crème fraîche or lightly whipped unsweetened cream alongside is the right move — the torte is sweet enough that sweetened cream tips it over.