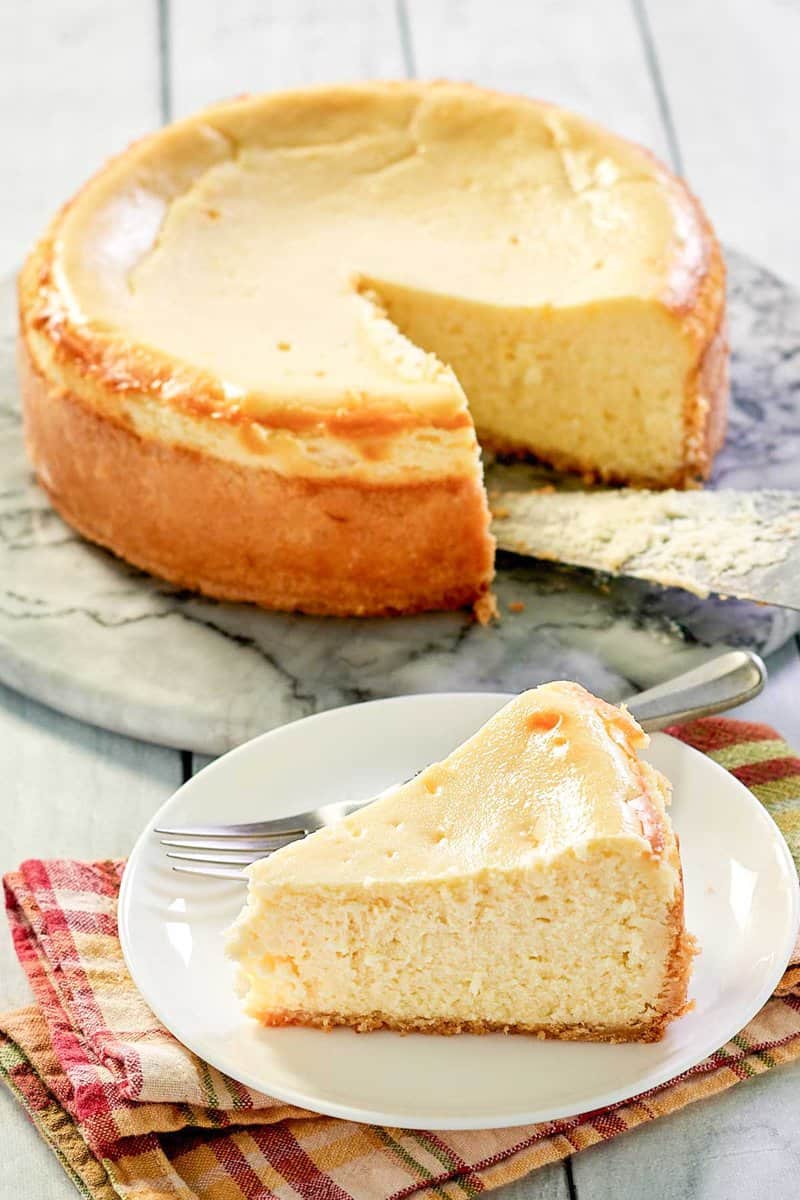
Classic New York Cheesecake
A tall, dense, velvety cheesecake with a deeply buttery graham crust and just enough lemon to keep all that richness bright. Bake it low and slow in a water bath, chill it overnight, and it slices like something from a bakery case.
Ingredients
Makes One 9-inch cheesecake (12 slices)
Crust
Filling
Instructions
- 1
Set up the pan
Heat the oven to 350°F with a rack in the lower third. Butter a 9-inch springform pan and line the base with a circle of parchment. Now waterproof it: tear two large sheets of heavy-duty foil and wrap them up and around the outside of the pan, pressing them flush against the sides so there are no seams below the rim. If your foil is narrow, use three sheets and overlap generously. A slow leak here is the one mistake you can't fix later.
- 2
Press and bake the crust
Stir the graham crumbs, sugar, and salt together, then pour in the melted butter and mix until every crumb is damp and the mixture clumps when you squeeze it. Tip it into the pan and press firmly across the bottom and about 1 inch up the sides, using the flat base of a measuring cup to compact it. Bake for 10 minutes, until it smells toasty, then set it on a rack. Drop the oven to 325°F.
- 3
Beat the cream cheese smooth
In a stand mixer with the paddle (or a hand mixer and a big bowl), beat the cream cheese alone on medium-low for about 2 minutes until it is completely free of lumps. Scrape the bowl and the paddle thoroughly. Add the sugar, flour, and salt and beat another minute. From this point on, keep the mixer on low — air beaten into the batter is what puffs a cheesecake up and then cracks it as it falls.
- 4
Add the liquids, then the eggs
On low, mix in the sour cream, heavy cream, vanilla, lemon zest, and lemon juice until uniform, scraping the bowl once. Add the eggs one at a time and then the yolk, mixing just until each disappears, maybe 10 seconds each. Stop the moment the batter looks smooth. Give it a final fold with a spatula from the bottom of the bowl to catch any unmixed cream cheese hiding there.
- 5
Fill and build the water bath
Pour the batter over the cooled crust and smooth the top. Rap the pan gently on the counter a few times to release trapped bubbles. Set the wrapped pan inside a large roasting pan, slide it into the oven, and then pour boiling water into the roasting pan until it comes about 1 inch up the sides of the springform. Pouring once the pan is already on the rack saves you from sloshing water into the batter.
- 6
Bake low and slow
Bake at 325°F for 75 to 85 minutes. It's ready when the outer 2 inches look set and matte and the center 3 inches still wobble like soft gelatin when you nudge the pan. For certainty, slip an instant-read thermometer into the center: you want 150°F to 155°F. Resist opening the oven before the 70-minute mark.
- 7
Cool it in stages
Turn the oven off, crack the door a few inches, and leave the cheesecake in its water bath for 45 minutes. Then lift it out, peel off the foil, and run a thin knife around the inside edge of the pan to free the cake so it can shrink without tugging at the sides. Cool on a rack to room temperature, about 1 1/2 hours.
- 8
Chill overnight, then unmold
Cover loosely and refrigerate at least 8 hours, preferably overnight. The texture goes from soft to properly dense and sliceable in that time, so don't shortcut it. To serve, unlatch the ring and lift it straight off. Slice with a long thin knife dipped in hot water and wiped dry between every cut.
You did it! Help us bring baking back home by selling your delicious baked goods on Homebaked!
Baker's Tips
- 1.
Everything cold-sensitive — cream cheese, eggs, sour cream, heavy cream — needs a solid hour on the counter. Cold cream cheese will not beat smooth, and lumps added at the start never disappear later.
- 2.
Use brick cream cheese, never the whipped tub kind. Tub varieties carry extra water and air and will bake into a loose, weepy filling.
- 3.
If your springform is a known leaker, set it inside a wider cake pan and put that in the water bath. It's a belt-and-suspenders fix that costs nothing.
- 4.
A hairline crack is almost always a sign of too much air in the batter or too fast a temperature change — not a ruined cake. Cover it with sour cream topping or fruit and nobody will know.
- 5.
The cake tastes even better on day two, so this is a genuinely good make-ahead dessert for a dinner party.
- 6.
For clean, bakery-sharp slices, chill the cake thoroughly and wipe the blade after each cut. Warm, crumb-smeared knives are what ruin the look.
Equipment
- 9-inch springform pan
- Heavy-duty aluminum foil
- Large roasting pan
- Stand mixer with paddle attachment or hand mixer
- Food processor or rolling pin and zip-top bag
- Rubber spatula
- Instant-read thermometer
- Wire cooling rack
Storage
Keep the cheesecake covered in the refrigerator for up to 5 days; press plastic wrap against any cut surfaces to stop them drying out. To freeze, chill fully, then freeze the whole cake or individual slices on a tray until firm before wrapping in plastic and then foil. It keeps for up to 2 months and should be thawed overnight in the fridge, never on the counter.