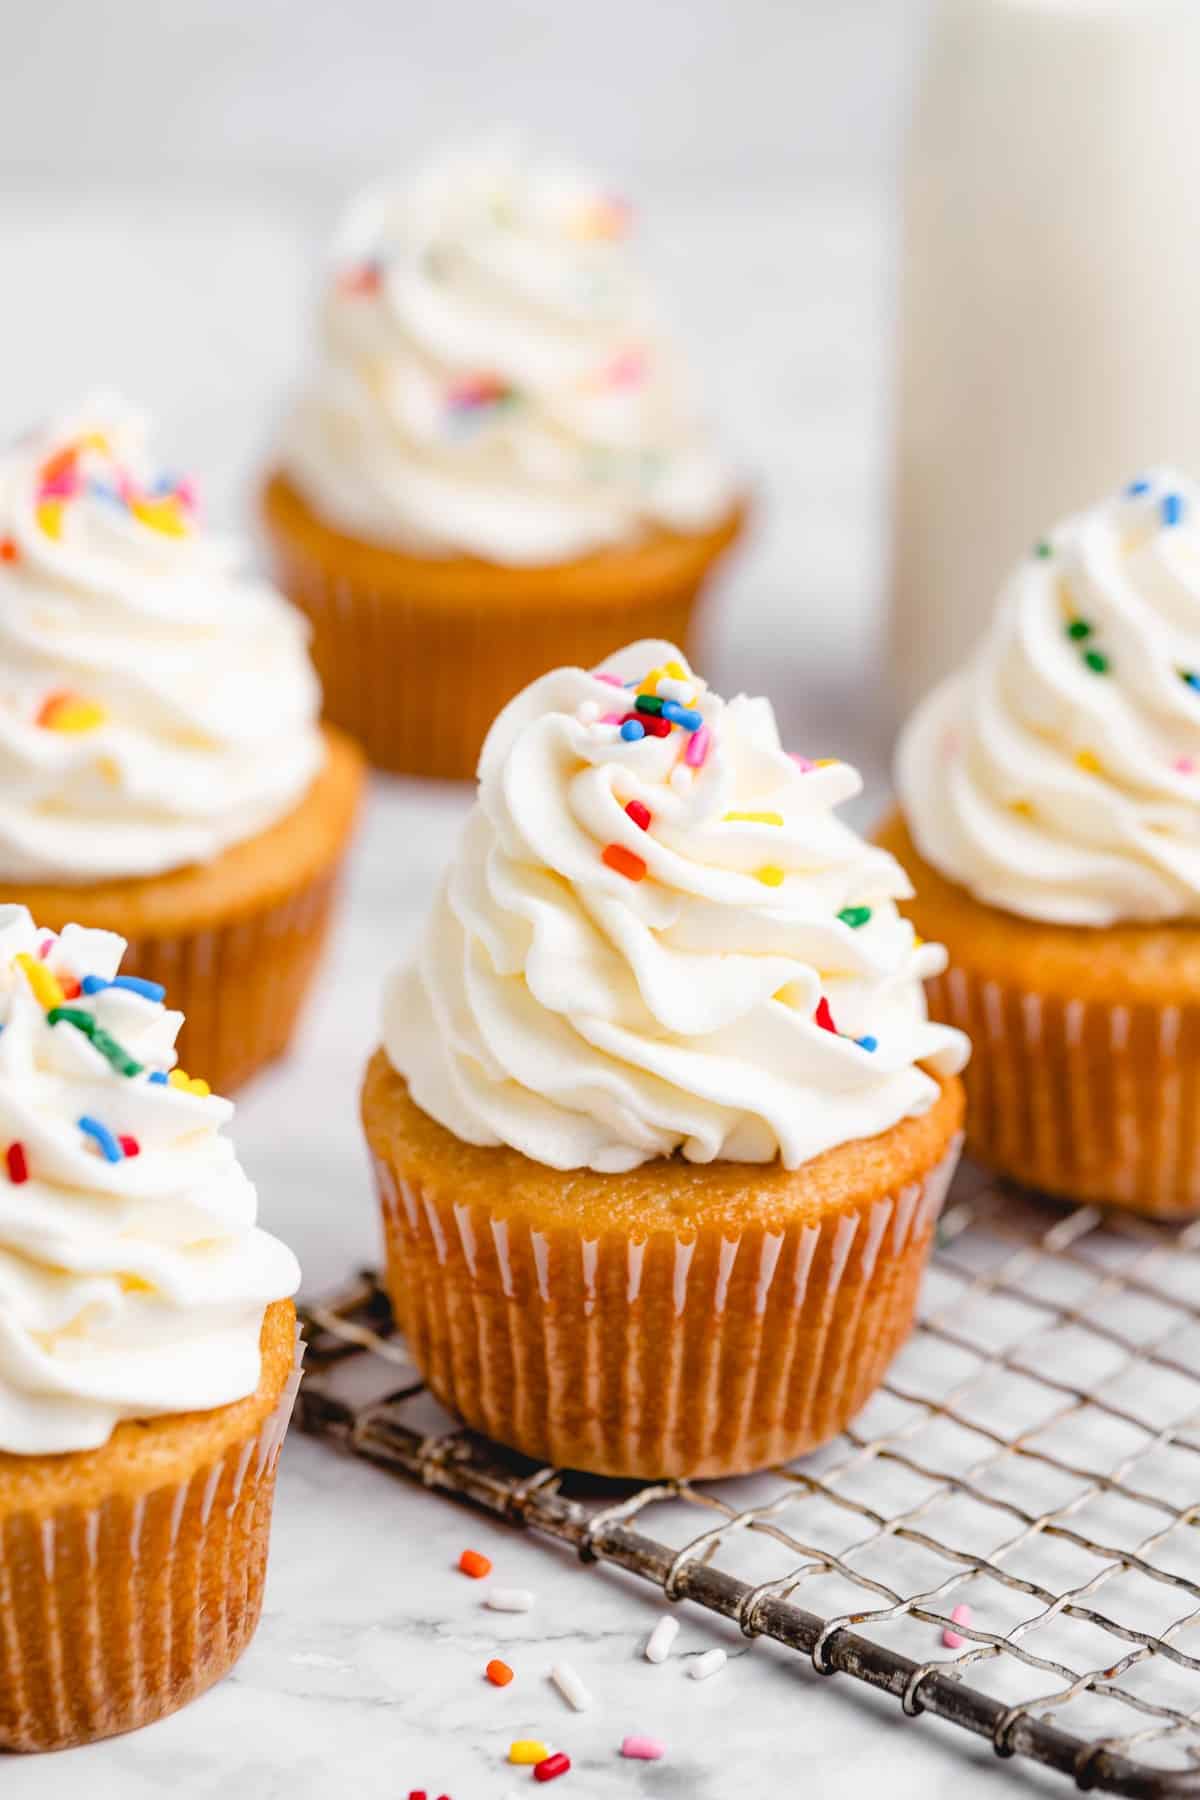
Classic Vanilla Cupcakes, Gluten Free
Soft, buttery vanilla cupcakes with a tight, tender crumb and a flat-enough top to hold a generous swirl of buttercream. One bowl of dry, one bowl of wet, and twenty minutes of actual work.
Ingredients
Makes 12 cupcakes
Cupcakes
Vanilla Buttercream
Instructions
- 1
Heat the oven and line the pan
Set a rack in the center of the oven and heat to 350°F (175°C). Line a 12-cup muffin pan with paper liners. Give the oven a full 20 to 30 minutes to come up to temperature — cupcakes get most of their lift in the first few minutes, and a half-heated oven gives you flat, dense tops.
- 2
Whisk the dry ingredients
In a medium bowl, whisk the gluten-free flour blend, xanthan gum, baking powder, baking soda, and salt together for a good 15 seconds. Check your blend's label first: if xanthan gum or guar gum already appears in the ingredients, leave it out here. Doubling up makes the crumb gummy and slightly slick.
- 3
Beat the butter, oil, and sugar
In a large bowl, beat the softened butter, oil, and granulated sugar on medium-high speed for 3 to 4 minutes, until pale and fluffy. Scrape the bowl down once partway through. There's no gluten to build structure here, so this trapped air matters even more than usual.
- 4
Add the eggs and vanilla
Beat in the whole eggs one at a time, then the extra yolk, mixing about 20 seconds after each. Add the vanilla and mix to combine. If the mixture looks curdled, keep beating another 30 seconds until it smooths out.
- 5
Alternate the flour and buttermilk
With the mixer on low, add about a third of the dry ingredients, then half the buttermilk, then another third of the dry, the rest of the buttermilk, and finally the last of the dry. Mix just until smooth. You can be slightly less cautious than with wheat flour since there's no gluten to toughen, but stop as soon as the batter is uniform — over-beating still whips in excess air that collapses as the cupcakes cool.
- 6
Rest the batter
Cover the bowl and let the batter sit at room temperature for 30 minutes. This is the step that separates good gluten-free cupcakes from gritty ones — rice flour and starches absorb liquid slowly, and the rest gives them time to fully hydrate. The batter will visibly thicken. Don't stir it down; just scoop from it as it is.
- 7
Fill the liners
Divide the batter among the 12 liners, about 3 tablespoons each, filling them roughly two-thirds full. The rested batter is thicker than wheat batter, so smooth the tops gently with a wet fingertip or the back of a spoon — it won't level itself in the oven.
- 8
Bake
Bake for 19 to 23 minutes. Gluten-free cupcakes need a few extra minutes and should be baked until the tops are set, lightly golden at the edges, and spring back fully when pressed. A toothpick should come out clean or with dry crumbs — unlike the wheat version, underbaked gluten-free centers stay gummy rather than just moist, so trust the spring-back cue over pulling them early.
- 9
Cool completely
Let the cupcakes rest in the pan for 5 minutes, then move them to a wire rack. Cool fully before frosting. Gluten-free cakes firm up and improve as they cool, so a cupcake that seems fragile straight from the oven will settle into a proper crumb within half an hour.
- 10
Make the buttercream
Beat the softened butter alone on medium-high for 4 to 5 minutes, until very light and almost white. Add the powdered sugar about a cup at a time on low speed, then the vanilla, cream, and salt. Whip for 2 minutes more. Confirm your powdered sugar is labeled gluten-free, since some brands use wheat starch as the anti-caking agent.
- 11
Frost and serve
Spread the buttercream on with a small offset spatula, or pipe it with a large star tip. Serve at room temperature. These are at their best the day they're made — gluten-free crumb stales faster, so an airtight container is non-negotiable for leftovers.
You did it! Help us bring baking back home by selling your delicious baked goods on Homebaked!
Baker's Tips
- 1.
Pull the butter, eggs, and buttermilk out an hour ahead. Room-temperature ingredients emulsify into a smooth batter that traps air; cold ones split and bake up dense.
- 2.
No buttermilk? Stir 1 1/2 teaspoons of lemon juice or white vinegar into a scant 1/2 cup of whole milk and let it sit 10 minutes until slightly thickened.
- 3.
Weigh your flour if you can. Scooping straight from the bag can pack in an extra 20 to 30 grams, which is the single most common reason homemade cupcakes turn out dry.
- 4.
The extra egg yolk is doing real work — it adds fat and emulsifiers that keep the crumb soft for days rather than hours. Don't skip it.
- 5.
Fill liners two-thirds full, no more. Overfilled cupcakes dome sharply and spill over the edges, and a mushroomed top is hard to frost neatly.
- 6.
For a deeper vanilla flavor, swap in 2 teaspoons of vanilla bean paste for an equal amount of the extract in the batter — you get the flecks and a rounder, less alcoholic taste.
- 7.
Rotate the pan front-to-back at the 12-minute mark if you know your oven has hot spots.