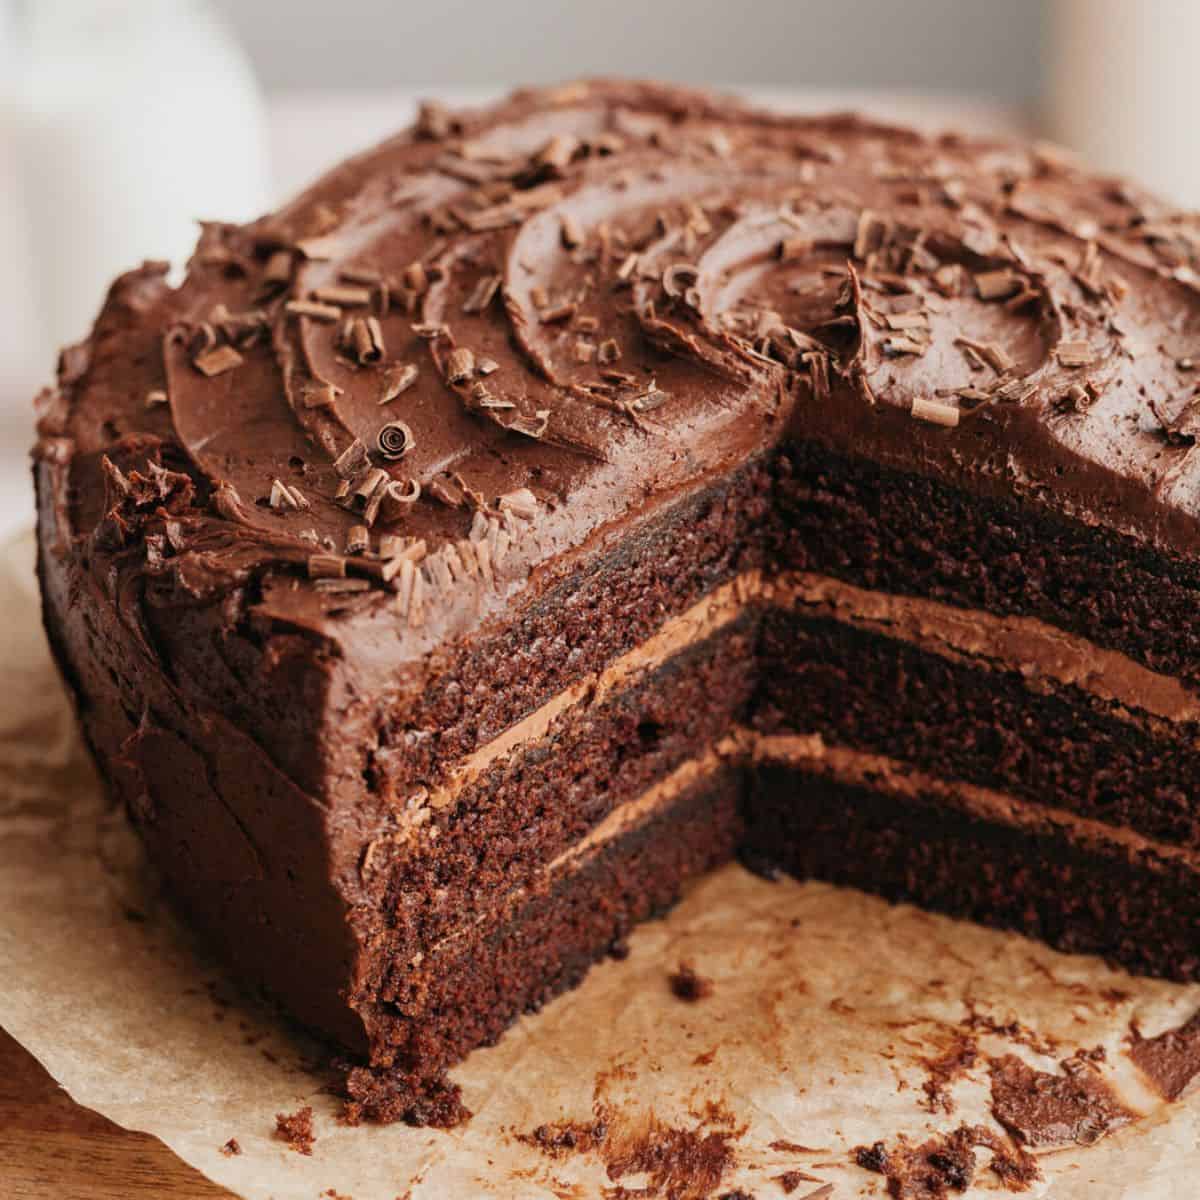
Deep Chocolate Layer Cake, Gluten Free
A deeply dark, permanently moist chocolate cake with two tall 9-inch layers and a swoop of silky chocolate buttercream. The batter is thin enough to pour and takes one bowl and a whisk.
Ingredients
Makes One 2-layer 9-inch cake (12 slices)
Cake
Chocolate buttercream
Instructions
- 1
Heat the oven and line the pans
Set a rack in the middle of the oven and heat to 350°F (177°C). Grease two 9-inch round cake pans, drop a parchment round in the bottom of each, then grease the parchment too. Gluten-free layers are more fragile coming out of the pan, so do not skip the parchment.
- 2
Whisk the dry ingredients
In a large bowl, whisk the gluten-free flour blend, xanthan gum (only if your blend does not already list it), sugar, cocoa powder, baking soda, baking powder, salt, and espresso powder for a full 30 seconds until uniformly brown with no pale streaks.
- 3
Combine the wet ingredients
In a second bowl, whisk the eggs, buttermilk, oil, and vanilla until completely smooth and slightly lightened. Room-temperature eggs and buttermilk emulsify with the oil far more willingly than cold ones.
- 4
Bring the batter together
Pour the wet mixture into the dry and whisk until no dry patches remain, then stream in the hot coffee while whisking. The batter will be very thin; that is correct and it is what keeps the crumb tender.
- 5
Rest the batter
Cover the bowl and let the batter sit at room temperature for 25 to 30 minutes. The rice flours and starches in gluten-free blends absorb liquid slowly, and this rest is what prevents a gritty, sandy texture in the baked cake. The batter will thicken noticeably and may look slightly grainy on top — give it one gentle stir before pouring.
- 6
Divide and bake
Pour the batter evenly between the pans, about 690g each. Bake for 34 to 38 minutes — gluten-free layers usually need a few extra minutes. They are done when the centers spring back under a light press and a toothpick comes out with a few moist crumbs. Gluten-free cakes dry out quickly past that point, so start checking at 33 minutes.
- 7
Cool completely
Cool the layers in their pans for 20 minutes before inverting — a little longer than a wheat cake, because the structure is still setting and warm gluten-free layers break easily. Run a knife around the edge, turn them out onto a rack, peel the parchment, and cool completely, at least 90 minutes.
- 8
Make the buttercream
Beat the softened butter on medium-high for 3 to 4 minutes until pale and fluffy. Add the sifted powdered sugar and cocoa in two additions on low speed, then the melted chocolate, cream, vanilla, and salt. Beat on medium-high for 2 to 3 minutes until glossy and spreadable, loosening with extra cream a tablespoon at a time if needed.
- 9
Assemble and frost
Level the tops if domed, using a gentle sawing motion since the crumb is more delicate. Set the first layer cut-side up, spread about 1 cup of buttercream to the edges, and top with the second layer upside down. Crumb coat thinly, chill 20 minutes, then finish with the remaining frosting.
- 10
Let it settle before slicing
Rest the finished cake for 30 minutes at room temperature before cutting. Gluten-free layers firm up as they sit and slice much more cleanly once the buttercream has set.
You did it! Help us bring baking back home by selling your delicious baked goods on Homebaked!
Baker's Tips
- 1.
If you do not drink coffee, use the same amount of boiling water. You lose a little depth but the cake still works, and the finished cake never tastes like coffee either way.
- 2.
Dutch-process cocoa gives a darker color and rounder, less acidic flavor. Natural cocoa works too and will bake up slightly redder and sharper in taste.
- 3.
No buttermilk? Stir 1 tablespoon of lemon juice or white vinegar into a cup of whole milk and let it sit 10 minutes until it looks curdled.
- 4.
For a three-layer 8-inch cake, divide the same batter among three 8-inch pans and start checking at 24 minutes.
- 5.
Chilling the cooled layers for 30 minutes in the freezer before assembly firms up the crumb and makes crumb-coating dramatically easier.
- 6.
If your buttercream looks curdled or split after adding the chocolate, the chocolate was too cool. Keep beating for a minute or two and it usually comes back together.