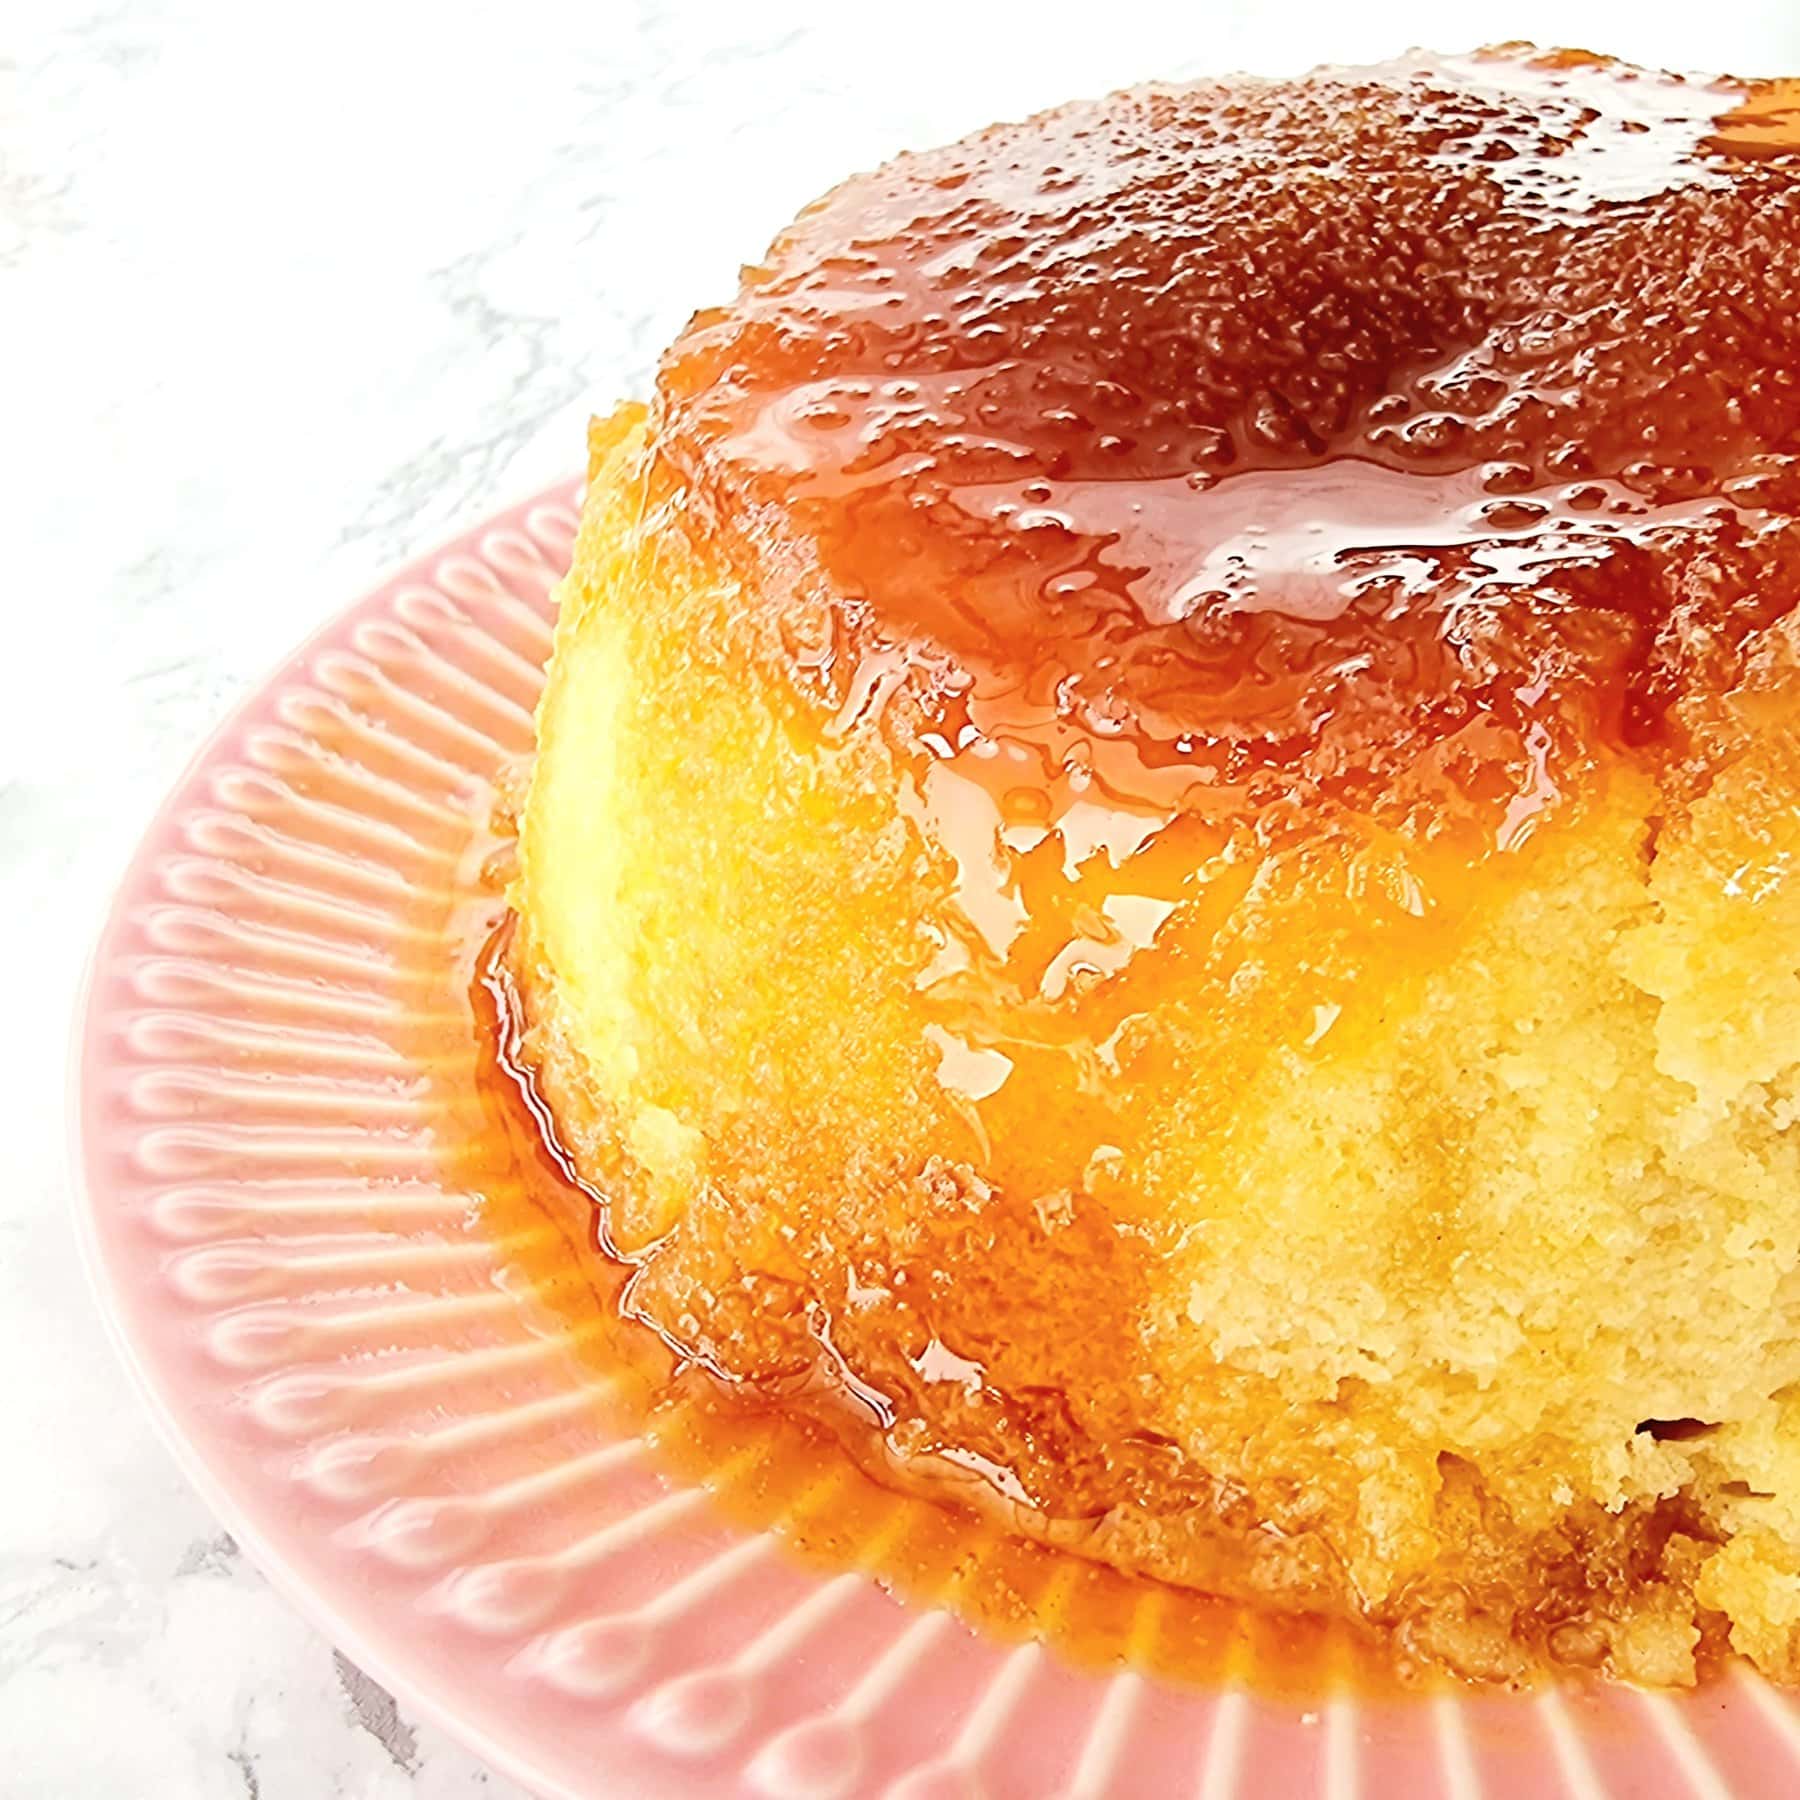
Steamed Golden Pudding Cake, Gluten Free
A featherlight buttery sponge steamed over simmering water until it domes tall and tender, then turned out under a glossy slick of lemon-spiked golden syrup. It's the warmest, most old-fashioned dessert you can make without ever turning on the oven.
Ingredients
Makes 1 pudding (6 to 8 servings)
Syrup base
Sponge
Instructions
- 1
Set up the steamer
Put an upturned heatproof saucer or a small metal trivet in the bottom of a deep, lidded pot wide enough to hold your 1 1/2-quart pudding basin with a little room around the sides. The saucer keeps the basin off the direct heat of the pan floor, which is what separates a gentle steam from a scorched bottom. Fill a kettle and set it to boil; you want plenty of hot water on hand throughout.
- 2
Prepare the basin and its lid
Butter the inside of the basin generously, all the way up to the rim, and press a small circle of parchment into the base. Cut one round of parchment and one of foil about four inches wider than the basin's mouth, stack them, and fold a one-inch pleat across the center of both. That pleat is not optional — it gives the sponge room to climb without pushing against a tight lid.
- 3
Pour in the syrup
Stir the golden syrup together with the lemon juice and spoon it into the bottom of the buttered basin. The lemon cuts the sweetness and keeps the finished sauce from tasting flat. Set the basin aside while you mix.
- 4
Cream the butter and sugar
Beat the softened butter and sugar together with an electric mixer on medium-high for a full 4 to 5 minutes, scraping the bowl twice, until the mixture is pale and visibly fluffy. A steamed sponge has no dry oven heat to help it rise, so nearly all its lift comes from the air you beat in right now. Don't cut this short.
- 5
Add the eggs
Beat in the eggs one at a time, letting each disappear completely before adding the next, and sprinkle in a tablespoon of the measured flour blend alongside the second and third egg. The flour steadies the mixture and stops it from splitting. Beat in the vanilla and lemon zest.
- 6
Fold in the dry ingredients
Whisk the remaining gluten-free flour blend with the xanthan gum, baking powder, and salt, then fold it into the batter in two additions. Add the milk and fold just until the batter drops slowly from the spatula in a soft lump. Gluten-free blends drink up more liquid than wheat flour, so this batter starts out looking slightly looser than you might expect — that's correct.
- 7
Rest the batter
Cover the bowl and leave the batter alone for 25 minutes. The rice and starch flours in the blend need this time to fully absorb the liquid, and skipping it is the single most common cause of a gritty, sandy gluten-free sponge. The batter will visibly thicken as it sits; give it one or two gentle folds before filling the basin.
- 8
Fill and seal the basin
Spoon the batter over the syrup and level the top, leaving at least an inch of clear space below the rim. Lay the pleated parchment-and-foil lid over the basin, foil side up, press it down around the rim, and tie it tightly under the lip with kitchen string. Make a second loop of string across the top and knot it to the sides to form a handle. Trim away any foil hanging below the string so it can't wick water upward.
- 9
Steam for 1 hour 45 minutes
Lower the basin onto the saucer and pour boiling water into the pot until it reaches halfway up the sides of the basin. Cover, bring to a bare simmer, and keep it there. Check every 30 minutes and top up with boiling water from the kettle so the level never drops below a third of the way up the basin. Never add cold water; it stalls the cooking.
- 10
Test for doneness
Lift the basin out with the string handle and untie the lid. A gluten-free sponge reads a touch softer to the touch than a wheat one even when fully cooked, so trust the skewer over the springback: it should come out clean, with the surface of the cake looking matte and set rather than glossy and wet. If in doubt, give it another 15 minutes — this batter is forgiving of extra steaming time.
- 11
Turn it out
Rest the pudding for a full 10 minutes before unmolding. Gluten-free sponges are fragile straight off the heat and firm up noticeably as they cool, and this extra time is what lets the pudding hold its shape on the plate. Run a thin knife around the edge, invert a deep-rimmed plate over the basin, and flip in one confident motion. Serve warm with cream or custard.
You did it! Help us bring baking back home by selling your delicious baked goods on Homebaked!
Baker's Tips
- 1.
A bare simmer is the whole technique. If the water boils hard, the sponge cooks unevenly at the edges and the basin rattles against the pot; if it goes still, the pudding stops rising.
- 2.
Butter that's genuinely soft — dentable with a fingertip but not greasy — whips to twice the volume of cold butter, and that volume is your rise.
- 3.
Swap the syrup base for 1/3 cup of thick jam, marmalade, or a brown-sugar-and-butter butterscotch and the method stays identical.
- 4.
No pudding basin? Any straight-sided, heatproof 1 1/2-quart bowl works, as does a lidded plastic steaming basin, which skips the string entirely.
- 5.
Leftover pudding reheats beautifully: 60 to 90 seconds in the microwave per slice brings it right back to warm and tender.
- 6.
If the center sinks slightly as it cools, it was pulled a few minutes early. Still delicious — just steam 15 minutes longer next time.