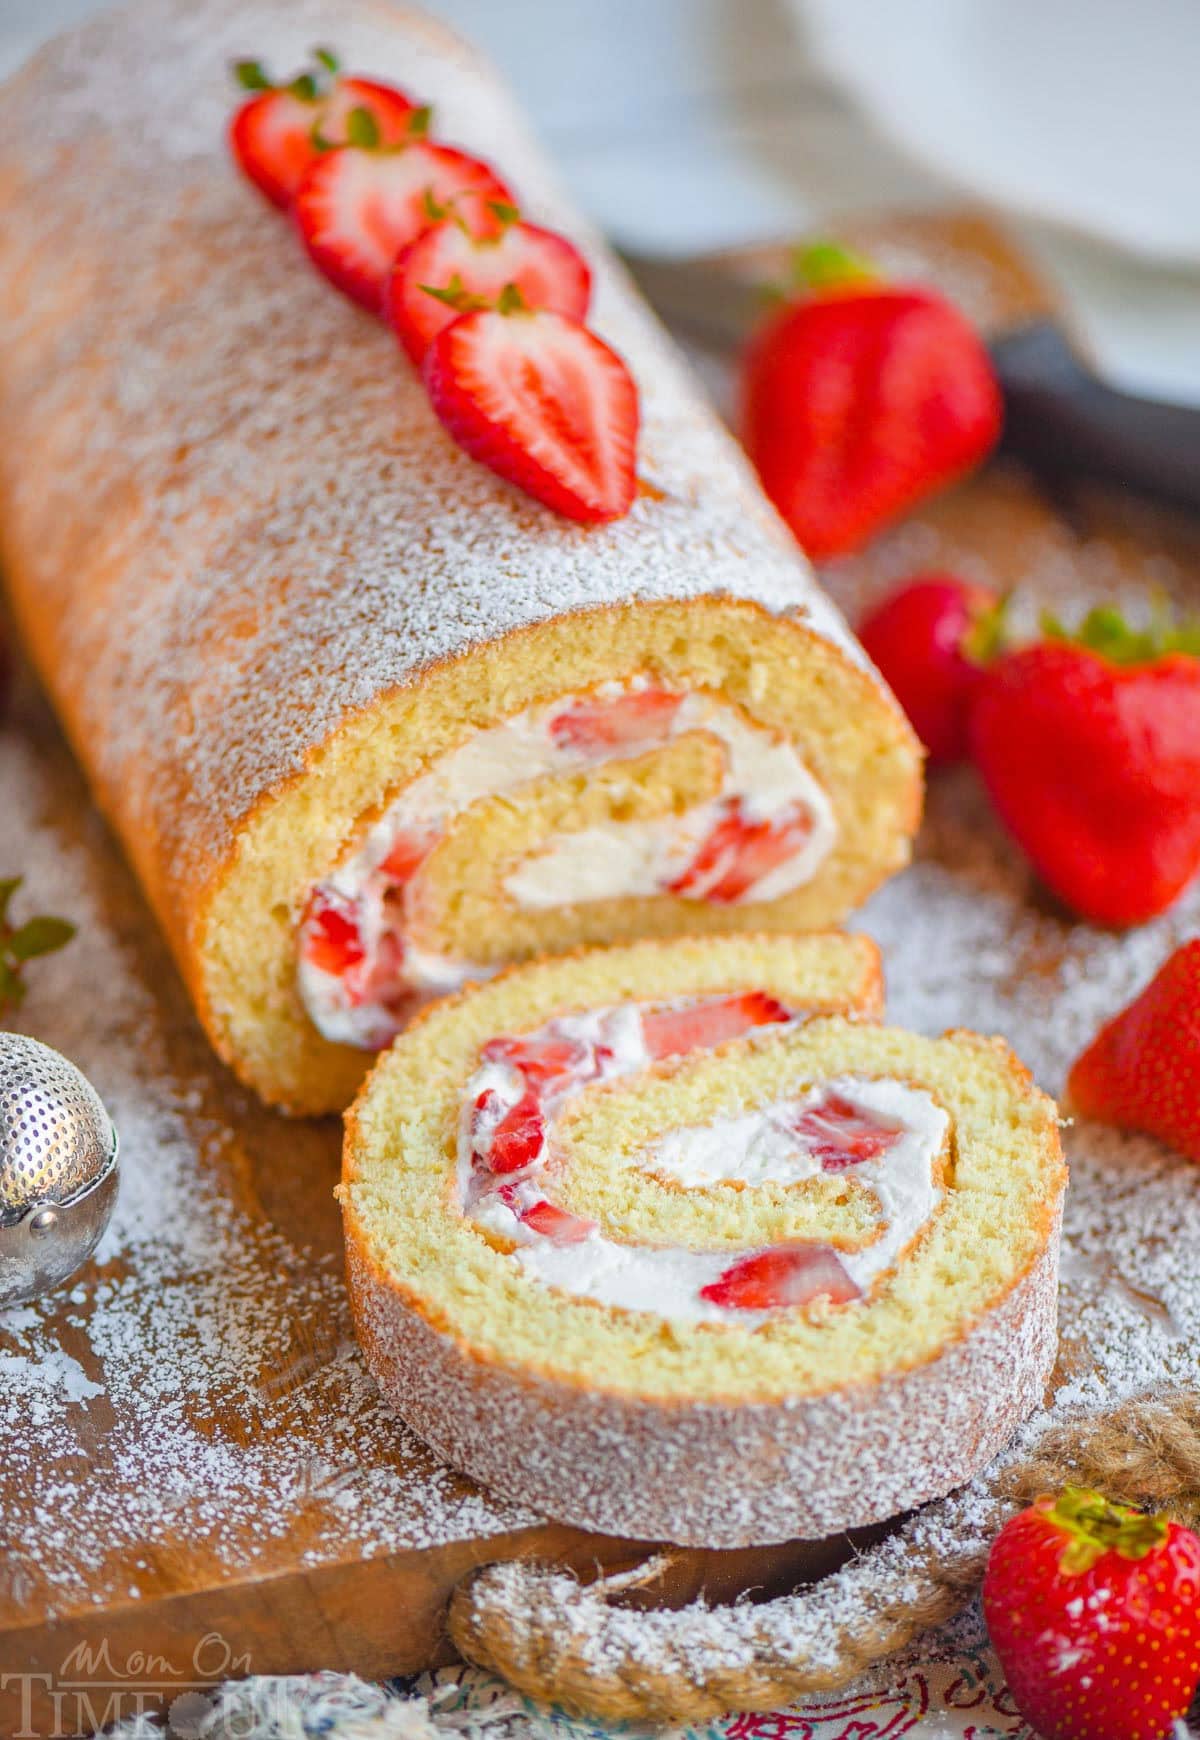
Strawberry Roll Cake (Roulade), Gluten Free
A featherlight vanilla sponge rolled around mascarpone whipped cream, strawberry jam, and fresh sliced berries. It looks like a pastry-case showpiece but bakes in about eleven minutes.
Ingredients
Makes 10 slices
Sponge
Filling
To Finish
Instructions
- 1
Heat the oven and line the pan
Set a rack in the center of the oven and heat it to 375°F (190°C). Grease a 10x15-inch jelly roll pan, line the bottom with parchment cut to fit, and grease the parchment too. Leave a little overhang on the two short ends if you can — it gives you something to lift with later. Have a thin, smooth kitchen towel, larger than the pan, spread out on the counter and ready to go before you start mixing; this batter waits for no one.
- 2
Hydrate the gluten-free flour
Whisk the gluten-free blend, xanthan gum, cornstarch, baking powder, and salt together in a bowl. Stir the warm melted butter and the milk together, pour it over about a third of the dry mix, and stir to a smooth paste. Let this sit for 15 minutes while you prepare everything else. Rice-based blends taste gritty unless their starches get a chance to drink up liquid, and hydrating this small portion does the job without deflating the egg foam later.
- 3
Macerate the strawberries
Toss the sliced strawberries with the tablespoon of granulated sugar and set them aside. They'll soften and release juice. Right before filling, drain them well in a sieve — the juice will make the sponge soggy and loosen the cream if it goes in, so save it for drizzling over the sliced cake or stirring into lemonade.
- 4
Whip the eggs to the ribbon
Beat the eggs and granulated sugar on high speed for 5 to 7 minutes, until the mixture is pale, thick, and tripled in volume. You're looking for the ribbon stage: lift the whisk and the batter should fall in a thick band that sits on the surface for a few seconds before sinking. With no gluten to build structure, this foam is doing nearly all the work, so give it the full time. Beat in the vanilla on low.
- 5
Fold in the dry ingredients
Sift the remaining dry mixture over the eggs in two additions, folding with a large flexible spatula — cut down the middle, sweep along the bottom, and turn the bowl a quarter. Stop the moment the streaks disappear. Gluten-free blends have no gluten to toughen, but they do deflate a foam quickly, so fewer strokes still means a lighter cake.
- 6
Fold in the hydrated paste
The rested butter-flour paste will have thickened. Loosen it with about a cup of the batter, stirring until smooth, then fold that mixture back into the main bowl just until incorporated. The finished batter should be glossy and pourable, slightly looser than a wheat-flour sponge.
- 7
Spread and bake
Scrape the batter into the pan and spread it to the corners with an offset spatula, keeping it as level as you can. Bake for 9 to 11 minutes — start checking at 9. The cake is done when the top springs back from a light press and the surface looks dry and matte rather than shiny. Gluten-free sponges turn brittle quickly once they dry out, so pull it as soon as it springs back.
- 8
Roll it warm
While the cake bakes, dust the waiting towel evenly with the 2 tablespoons of powdered sugar. Work fast here: run a knife around the edges the second the pan comes out, flip the cake onto the towel, peel off the parchment, and roll the cake and towel together from a short end into a snug spiral. This sponge is far less forgiving than a wheat one once it cools, so roll it while it's genuinely hot. Cool the bundle seam-side down on a wire rack, 45 to 60 minutes.
- 9
Whip the mascarpone cream
Beat the mascarpone, powdered sugar, and vanilla on low until smooth, then pour in the cold cream in a slow stream with the mixer on medium. Whip until the cream holds firm peaks and looks thick and glossy. Watch it closely at the end — mascarpone takes it from perfect to grainy fast, and once it splits there's no coming back.
- 10
Fill and reroll
Unroll the cooled cake gently and slowly; if it resists, stop and give it another minute rather than forcing it flat. Spread the jam over the surface, leaving a half-inch bare along the far short edge, then spread about three-quarters of the cream over the jam and scatter the drained strawberries on top. Reroll from the same end, using the towel to push the cake forward rather than pulling it.
- 11
Chill, finish, and slice
Wrap the roll seam-side down and refrigerate at least 1 hour, or up to 3 — the extra chilling time does gluten-free rolls a particular favor, firming the crumb so it slices cleanly. Trim a thin slice off each end, dust with powdered sugar, and finish with the reserved cream and halved strawberries. Cut with a serrated knife using long, light sawing strokes, wiping the blade between slices.
You did it! Help us bring baking back home by selling your delicious baked goods on Homebaked!
Baker's Tips
- 1.
Room-temperature eggs whip noticeably higher than cold ones. If yours came straight from the fridge, sit them in a bowl of warm tap water for 10 minutes first.
- 2.
The cornstarch isn't optional filler — it softens the flour's protein so the baked sponge stays flexible enough to bend without tearing.
- 3.
Use a thin, flat-weave towel rather than a fluffy terry one. Terry loops press a texture into the warm cake and grab at the surface when you unroll it.
- 4.
A few surface cracks are normal and not a failure. Roll the cake so the cracked side ends up on the inside, and finish the outside with powdered sugar.
- 5.
If the cream starts to look grainy, stop whipping immediately and fold in a tablespoon or two of unwhipped cold cream by hand to bring it back.
- 6.
Assemble the day you plan to serve. Fresh strawberries keep weeping moisture into the sponge, and by day two the spiral goes damp.