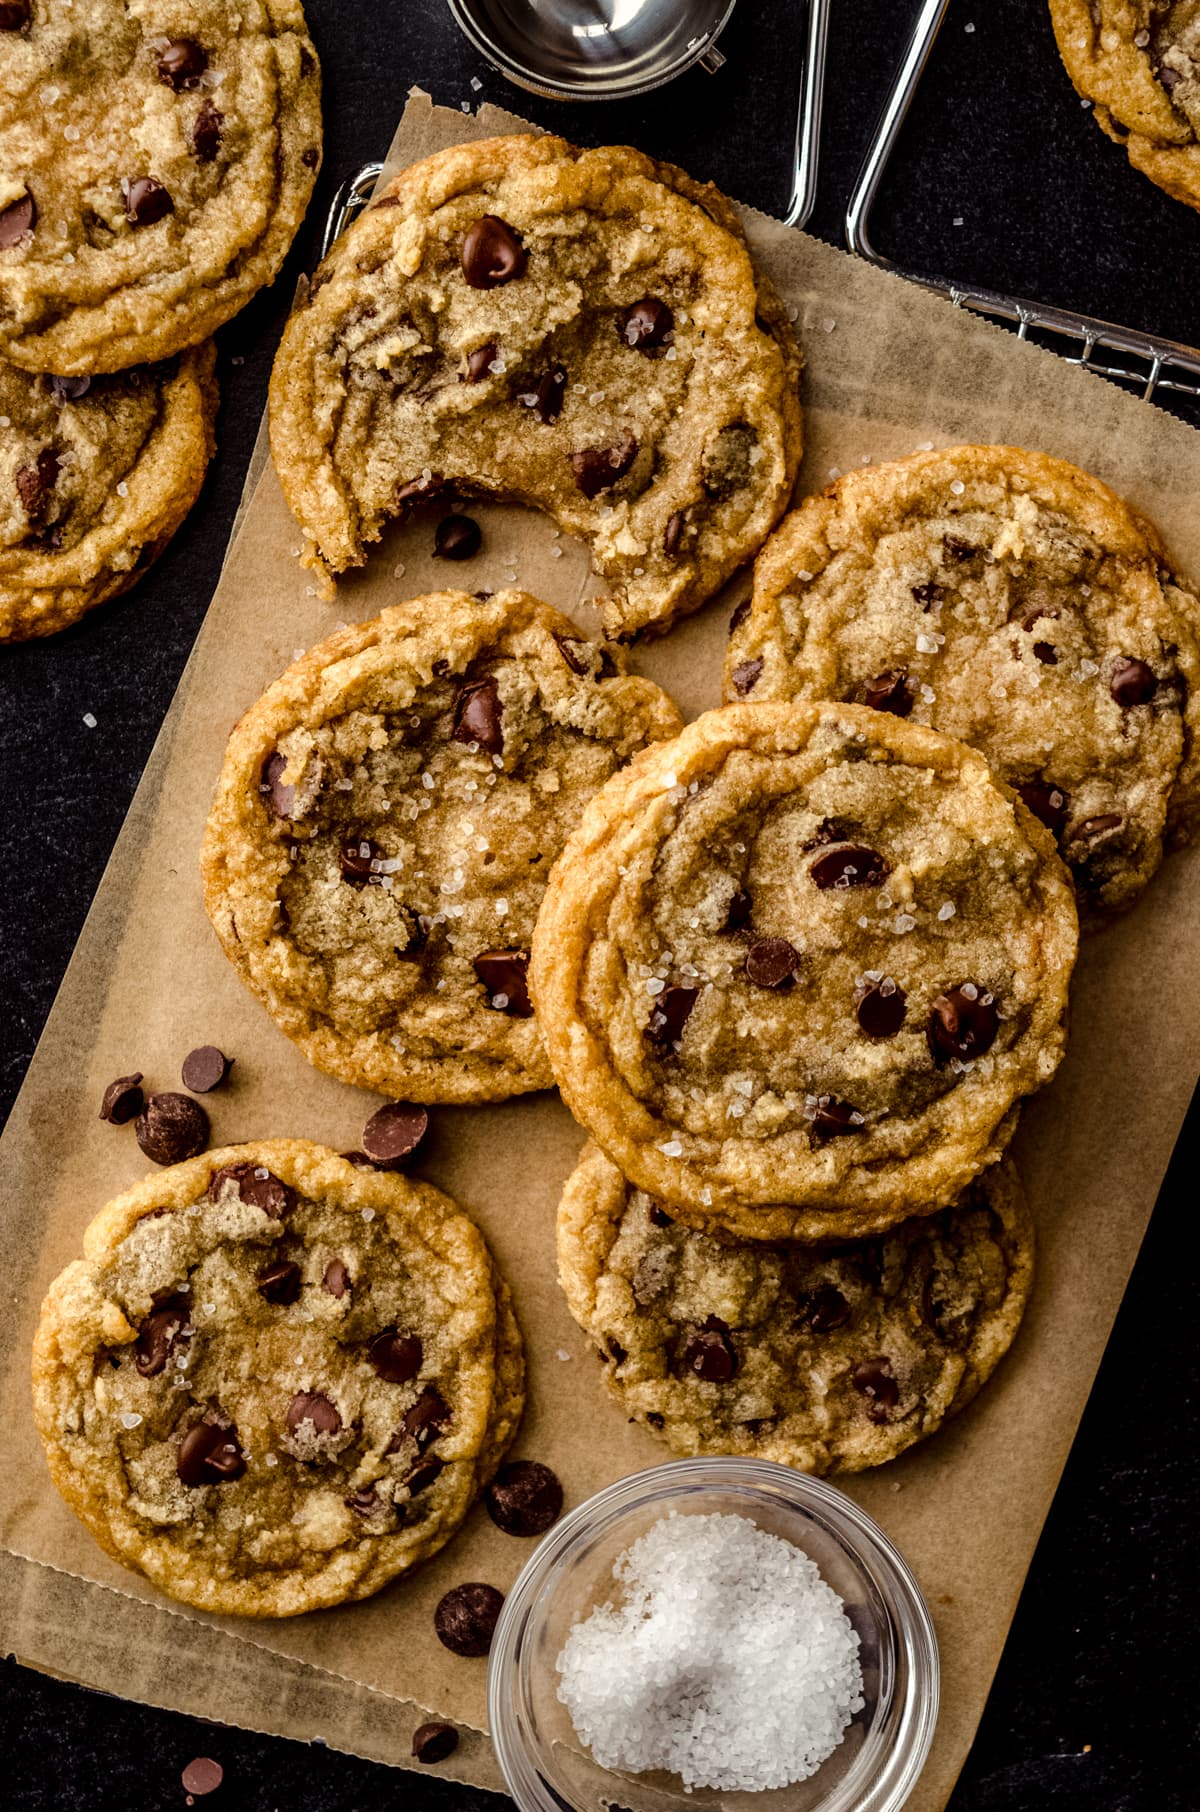
Brown Butter Chocolate Chip Cookies, Gluten Free
Deeply caramelized brown butter and a heavy hand with dark brown sugar give these cookies crackly edges, a dense chewy middle, and pools of melted chocolate. A rest in the fridge is what turns them from good to unforgettable.
Ingredients
Makes 20 cookies
Dough
Dry ingredients
Mix-ins
Instructions
- 1
Brown the butter
Cut the butter into tablespoon-sized pieces and melt it in a light-colored skillet or saucepan over medium heat. It will foam up, go quiet, then start throwing off a nutty smell as brown flecks collect on the bottom. Scrape the base constantly with a heatproof spatula for the last minute or two so those milk solids toast instead of burn. Total time is usually 5 to 8 minutes. Pour every drop, flecks included, into a large mixing bowl.
- 2
Cool the butter and add the sugars
Let the butter sit for 10 to 15 minutes, until it's warm rather than hot. Whisk in both sugars and the milk. The milk replaces the water that cooked off during browning, which is what keeps these chewy instead of crumbly. Whisk hard for a full minute, until the mixture looks glossy and slightly thickened.
- 3
Beat in the eggs
Add the whole eggs, the extra yolk, and the vanilla, then whisk vigorously for about 45 seconds until the batter is smooth and lightens slightly in color. If the butter is still hot at this point the eggs will scramble, so check it's only warm to the touch first.
- 4
Combine the dry ingredients
Whisk the gluten-free flour blend, baking soda, baking powder, and fine sea salt together in a separate bowl. Check your blend's label first: if it already lists xanthan gum or guar gum, skip the xanthan; if it doesn't, whisk it in with the dry ingredients now and make sure it's evenly distributed, or you'll get gummy patches. Fold the dry mixture into the wet until no streaks remain. Unlike wheat dough, you can't overwork this one, so mix until it's genuinely uniform.
- 5
Fold in the chocolate
Add the chocolate and fold it through, including any shards and dust from chopping. The dough will look noticeably softer and wetter than a wheat-flour dough at this stage; that's normal and it firms up during the rest.
- 6
Rest and chill the dough
Cover and refrigerate for at least 2 hours, or up to 72 hours. Gluten-free flour blends are built on rice flour and starches that need real time to absorb liquid, and skipping this rest is what leaves gluten-free cookies with a gritty, sandy texture. The dough should feel firm and scoopable, not sticky, when it's ready. Overnight gives both the best texture and the deepest flavor.
- 7
Heat the oven and portion
Heat the oven to 350°F (175°C) and line two sheet pans with parchment. Scoop the dough into 3-tablespoon balls, about 58g each, and space them at least 2 inches apart, six to a pan. Roll each ball smooth between your palms, since gluten-free dough won't self-smooth in the oven the way wheat dough does. Bake one sheet at a time on the middle rack.
- 8
Bake
Bake for 12 to 14 minutes. Gluten-free cookies brown faster at the edges while the centers lag, so judge by the edges being set and deep golden with centers that still look soft and slightly glossy. Rap the pan on the counter once as they come out for rippled tops.
- 9
Finish and cool
Sprinkle with flaky salt while the surfaces are glossy. These need a longer pan rest than wheat cookies, a full 8 to 10 minutes, because the starches are fragile while hot and the cookies will break if you move them early. Transfer to a wire rack once they feel firm at the edges.
You did it! Help us bring baking back home by selling your delicious baked goods on Homebaked!
Baker's Tips
- 1.
Use a stainless or light-colored pan to brown the butter. In a dark nonstick skillet you can't see the color change, and the line between nutty and burnt is about thirty seconds wide.
- 2.
Weigh your flour if you can. A heavy-handed scoop can add 30g or more per cup, which is the single most common reason homemade cookies turn out dry and cakey.
- 3.
Chopped chocolate from a bar beats chips for looks and texture. Chips contain stabilizers that help them hold their shape, while chopped chocolate melts into ribbons and puddles.
- 4.
Bake a test cookie before committing the batch. If it spreads more than you'd like, chill the remaining dough another 30 minutes; if it stays domed, flatten the tops of the dough balls slightly.
- 5.
Dough balls freeze beautifully. Freeze them solid on a tray, bag them, and bake straight from frozen with 2 extra minutes added.
- 6.
If your cookies come out pale, your oven is likely running cool. An oven thermometer costs a few dollars and fixes more baking problems than any technique.