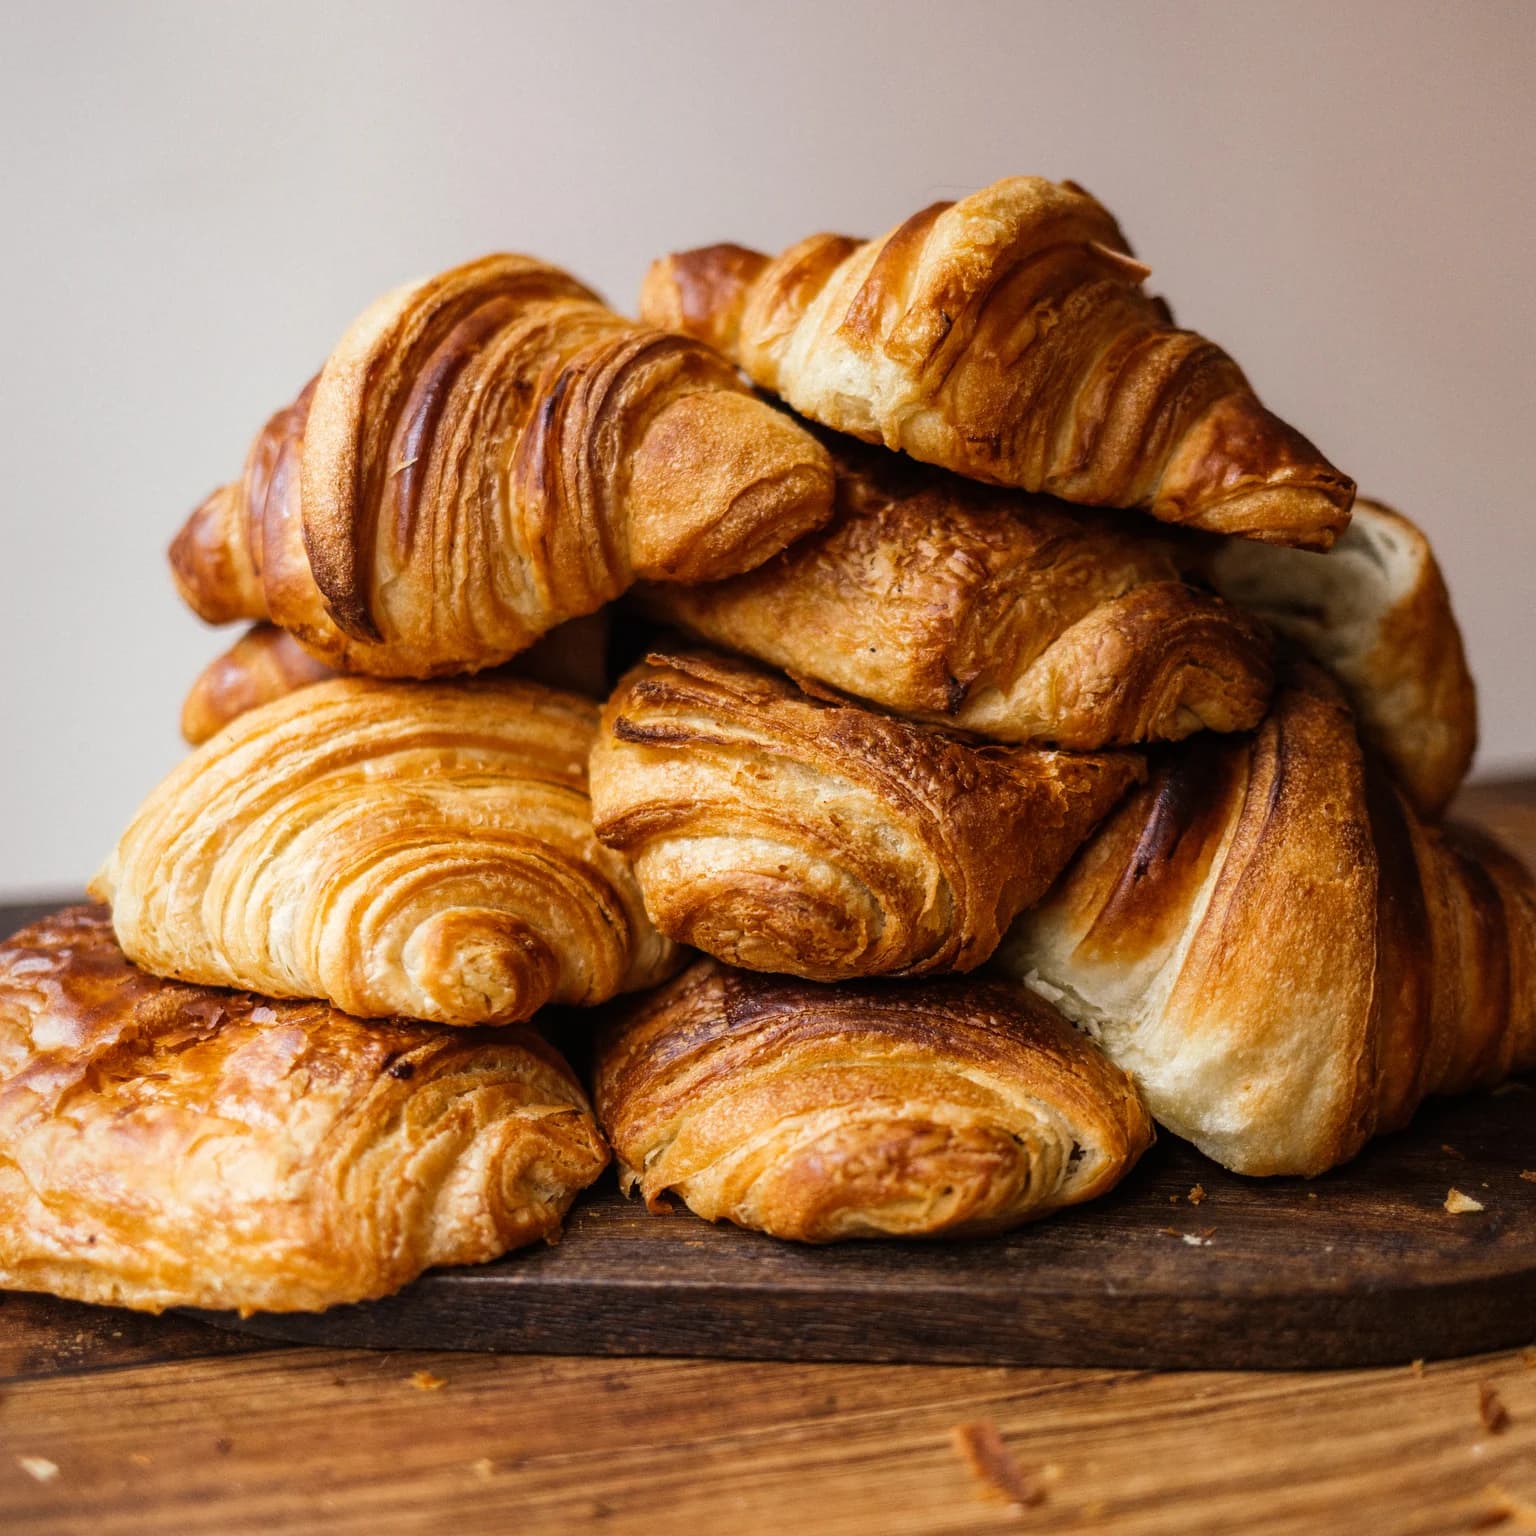
Classic Butter Croissants, Gluten Free
Shatteringly crisp on the outside, honeycombed and tender within — real laminated croissants made over two days in a home kitchen. The work is mostly waiting, and the payoff is a pastry no bakery box can beat.
Ingredients
Makes 12 croissants
Dough
Butter block
Egg wash
Instructions
- 1
Mix the dough
Whisk the gluten-free blend, xanthan gum, psyllium husk powder, sugar, salt and yeast together in the bowl of a stand mixer. Add the warm milk, warm water, egg and softened butter, then mix on low with the paddle attachment for 3 minutes. There is no gluten to develop, so mixing is only about even hydration — the dough will look softer and stickier than a wheat dough, closer to thick modeling clay.
- 2
Rest, then chill overnight
Let the dough sit at room temperature for 30 minutes so the starches and psyllium fully absorb the liquid. It will firm up noticeably and stop feeling tacky, which is exactly what makes it rollable later. Press it into a flat 6-inch square, wrap tightly, and refrigerate 8 to 12 hours.
- 3
Build the butter block
Pound the cold butter flat between two sheets of parchment, then roll it into an even 7-inch square and square the edges with a bench scraper. Chill 20 to 30 minutes, until cool but still bendable. Gluten-free dough is less forgiving than wheat dough, so matching the firmness of butter and dough matters even more here.
- 4
Lock in the butter
Roll the chilled dough into a 10-inch square between two sheets of lightly floured parchment — rolling between parchment is essential, since this dough tears rather than stretches. Set the butter block in the center at a 45-degree angle and fold the four corners over it, pressing the seams together firmly. Patch any cracks with your fingers; the dough will not self-heal the way gluten dough does.
- 5
First and second turns
Still between parchment, roll the package into a rectangle about 8 by 20 inches, working slowly and from the center outward. Fold it in thirds like a letter, wrap, and chill 45 minutes. Repeat once more for a second letter fold and chill again. Stop at two turns rather than three: gluten-free layers are fragile and a third fold blurs them into a single dense mass.
- 6
Final rest
Wrap the folded dough and refrigerate at least 1 hour, or overnight. Do not skip this — cold, hydrated gluten-free dough rolls out cleanly, while warm dough crumbles at the edges.
- 7
Roll and cut the triangles
Roll the dough between parchment into a rectangle about 24 by 12 inches and a scant 1/4 inch thick. If cracks open along the edges, press them back together and let the dough warm for 2 or 3 minutes before continuing. Trim the edges square, mark the long sides every 4 inches with the top row offset by 2 inches, and cut diagonally into 12 triangles. Notch each wide base 1/2 inch.
- 8
Roll the croissants
Skip the usual stretching step — pulling this dough will only tear it. Roll each triangle up from the notched base with light, even pressure, tucking the tip underneath. Set them on parchment-lined sheets 3 inches apart and curve the ends gently inward.
- 9
Proof until puffy
Cover loosely and proof at around 78°F for 1 1/2 to 2 1/2 hours. These will look puffy and feel light but will not double the way wheat croissants do, and they wobble less — judge by a roughly 50 to 75 percent increase in size and visible separation at the cut ends. Overproofing causes collapse in the oven, so err on the early side.
- 10
Egg wash and bake
Heat the oven to 375°F. Brush the tops with the egg beaten with milk, staying off the cut sides. Bake 24 to 28 minutes, rotating halfway, until the tops are deep golden and the bases sound hollow when tapped. The lower temperature and longer bake let the starches set all the way through. Cool completely on a rack before eating — gluten-free interiors taste gummy while warm and firm up as they cool.
You did it! Help us bring baking back home by selling your delicious baked goods on Homebaked!
Baker's Tips
- 1.
Temperature beats technique here. If the dough feels soft or slippery at any point, stop and refrigerate for 20 minutes — you can always pick up where you left off, but you cannot un-melt butter.
- 2.
European-style butter with 82% or more butterfat contains less water, so it stays pliable when cold and is far less likely to crack into shards inside the dough.
- 3.
Save the dough scraps from trimming. Twist them, proof them alongside the croissants, and bake them as cook's treats — do not knead them back into the dough, which destroys the layers.
- 4.
Shaped, unproofed croissants freeze beautifully. Freeze solid on a sheet, bag them, then thaw overnight in the fridge and proof as usual for fresh pastries on a weekday.
- 5.
Butter pooling on the pan almost always means the proof was too warm. A puck-like, bready interior means the opposite — they went into the oven underproofed.
- 6.
Roll in one direction at a time and rest the dough whenever it springs back. Forcing it stretches the butter layers unevenly and gives you a lopsided honeycomb.