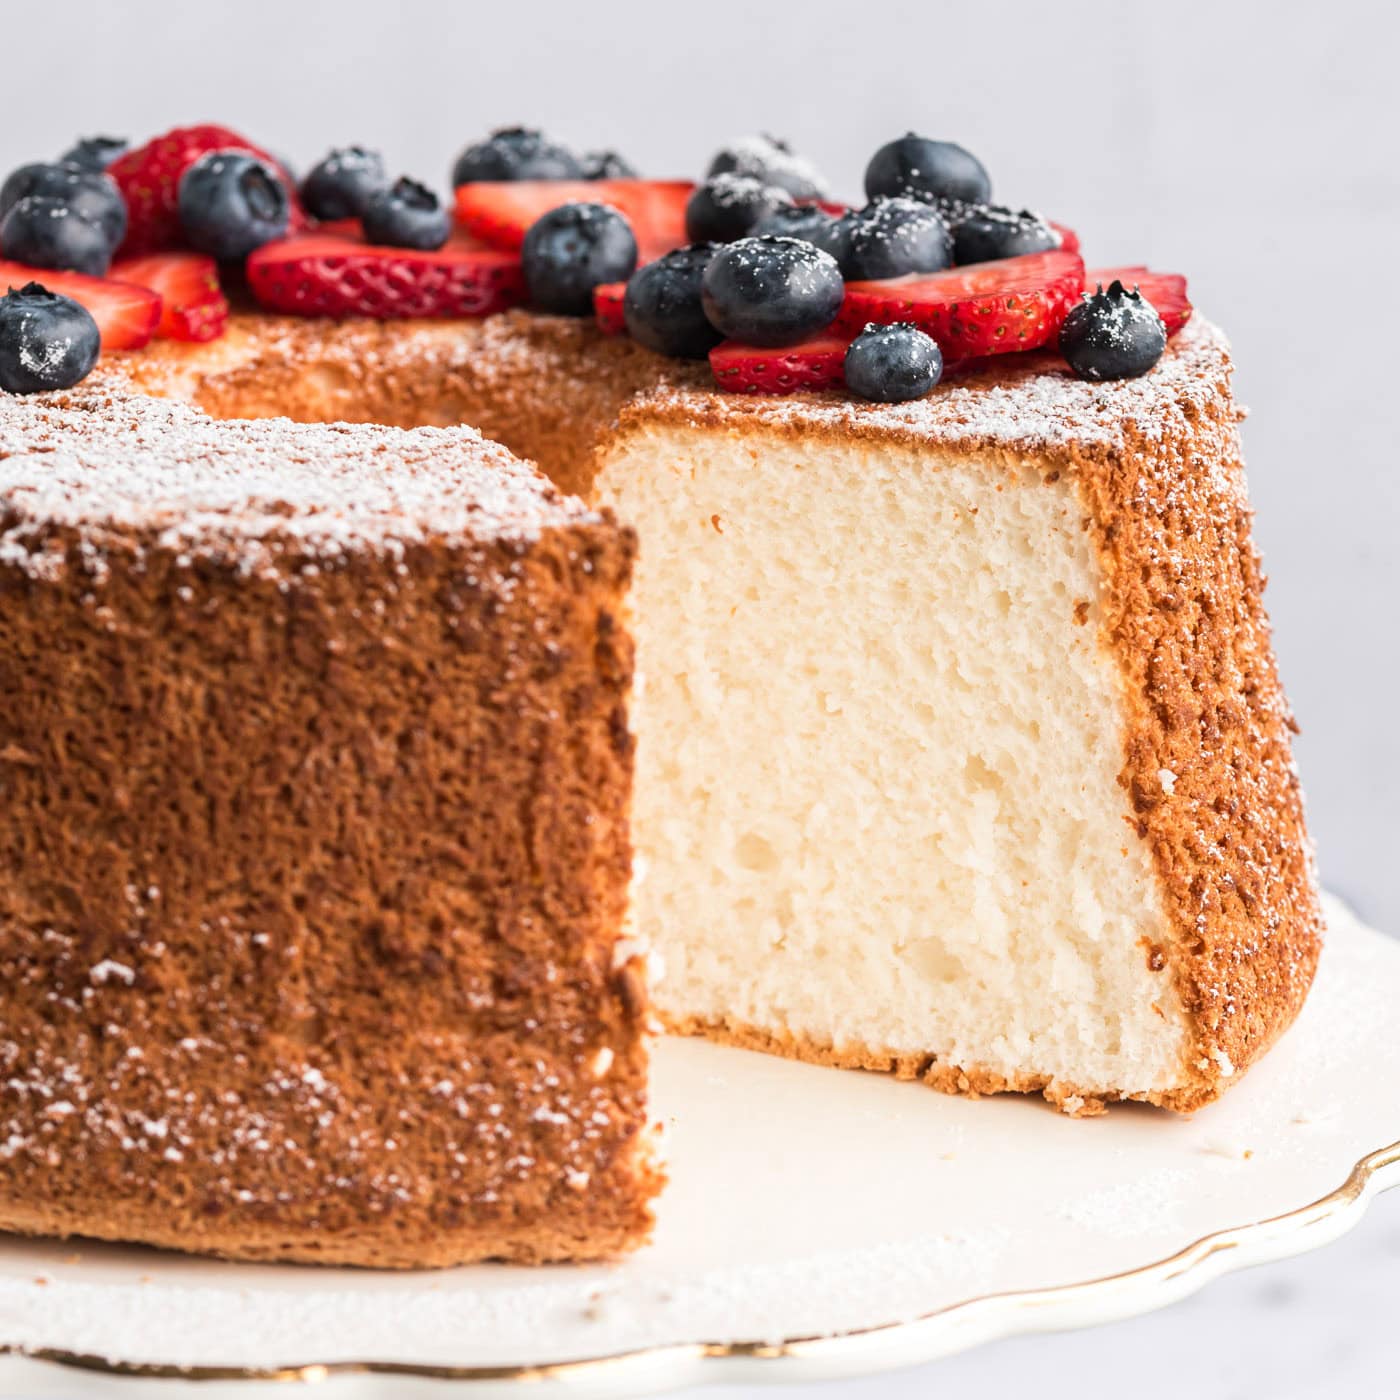
Angel Food Cake, Gluten Free
A towering, snow-white cake leavened by nothing but whipped egg whites, with a springy crumb and a thin chewy crust. It uses no butter, no oil, and no baking powder — just air, sugar, and patience.
Ingredients
Makes 1 ten-inch tube cake (12 slices)
Cake
Instructions
- 1
Set up the oven and pan
Move an oven rack to the lower third of the oven and heat to 350°F. Set out a 10-inch two-piece tube pan and leave it completely bare — no butter, no spray, no parchment. The batter has to grip the sides of the pan to climb, and any trace of fat will send it sliding back down. If your pan has ever been greased and not fully scrubbed, wash it in hot soapy water and dry it now.
- 2
Make superfine sugar
Pour all 1 1/2 cups of sugar into a food processor and run it for about a minute, until the crystals look powdery. Scoop out 3/4 cup and set it aside for the meringue. Finer sugar dissolves into the whites instead of weighing them down, which is the difference between a cake that climbs and one that sulks. Skip this step if you already have caster sugar.
- 3
Combine and aerate the dry ingredients
Add the gluten-free flour blend, xanthan gum, and salt to the remaining sugar in the processor and pulse eight to ten times. Then sift the mixture twice — gluten-free blends are denser and clumpier than cake flour, and the extra sifting is what keeps the folding step from knocking air out of your meringue. If you're adding xanthan gum, sift it with the flour rather than sprinkling it in later so it disperses evenly.
- 4
Start the meringue
Wipe the mixer bowl and whisk with a paper towel dampened in white vinegar to strip off any invisible grease, then dry them. Add the egg whites and beat on medium-low until loose and foamy all the way through, about 1 minute. Sprinkle in the cream of tartar and keep beating until the foam turns white and holds the faint tracks of the whisk.
- 5
Add the sugar slowly
With the mixer on medium, add the reserved 3/4 cup sugar about a tablespoon at a time, waiting a few seconds between additions. This takes 4 to 5 minutes and it is not a step to rush. Stop when the meringue is thick, glossy, and holds a peak that curls over at the tip — soft to medium, never stiff and chalky. Beat in the vanilla and almond extract on low just until they disappear.
- 6
Fold in the flour
Take the bowl off the mixer. Sift about a quarter of the flour mixture over the surface and fold it in with a large flexible spatula: cut down through the center, sweep along the bottom, and lift the batter over itself, rotating the bowl a quarter turn each time. Repeat with the remaining flour in three more additions. The batter will feel very slightly heavier than a wheat version — that's the blend's starches, not a mistake. Stop the moment the dry streaks disappear.
- 7
Fill the pan and bake right away
Spoon the batter into the ungreased pan, run a thin knife through it in a slow circle to pop large bubbles, and smooth the top. Get it into the oven immediately — unlike most gluten-free batters, this one must not rest, because every minute on the counter is air escaping the meringue. The sifting in step 3 does the hydrating work instead.
- 8
Bake a little longer
Bake for 40 to 47 minutes. Gluten-free blends hold more moisture, so this cake needs a few extra minutes and will brown more deeply than the wheat version. Look for a top that is firmly springy with no damp or shiny patches anywhere, including along the sides, and a skewer that comes out clean. Err toward an extra 2 or 3 minutes rather than pulling it early — an underbaked gluten-free angel food collapses as it cools.
- 9
Cool upside down
Immediately invert the pan onto its feet, or slide the center tube over the neck of a sturdy bottle so the cake hangs clear of the counter. Leave it alone for at least 2 hours, and ideally 3 — the starch structure in a gluten-free crumb sets more slowly and is fragile while warm.
- 10
Release and slice
Run a thin knife or offset spatula firmly around the outer wall and the center tube, pressing against the metal rather than the cake. Lift out the insert, release the bottom the same way, and turn the cake onto a plate. Cut with a serrated knife using a gentle sawing motion.
You did it! Help us bring baking back home by selling your delicious baked goods on Homebaked!
Baker's Tips
- 1.
Separate the eggs while they're cold straight from the fridge, when the yolks are firm and less likely to break, then let the whites sit on the counter for 30 minutes before whipping. Warmer whites whip to a greater volume.
- 2.
Even a speck of yolk will keep the whites from reaching full volume. Crack each egg into a small bowl first and transfer the clean white to the mixing bowl, so one bad egg doesn't ruin the batch.
- 3.
Use freshly separated whites rather than the carton kind. Cartoned and previously frozen whites are pasteurized and simply don't trap as much air.
- 4.
A two-piece tube pan with a removable bottom is worth buying. Nonstick, silicone, and greased bundt pans all fight the batter's ability to climb.
- 5.
Soft, droopy peaks are the target. If the meringue looks grainy, dull, or separates into clumps when you lift the whisk, you've gone too far and the cake will bake up short and tough.
- 6.
You'll be left with 12 yolks. Refrigerate them covered for up to two days and turn them into lemon curd, crème brûlée, or hollandaise.
- 7.
Angel food cake is dry by design and wants something alongside it: macerated strawberries, lightly sweetened whipped cream, lemon curd, or thick slices seared in a dry pan until the edges caramelize.