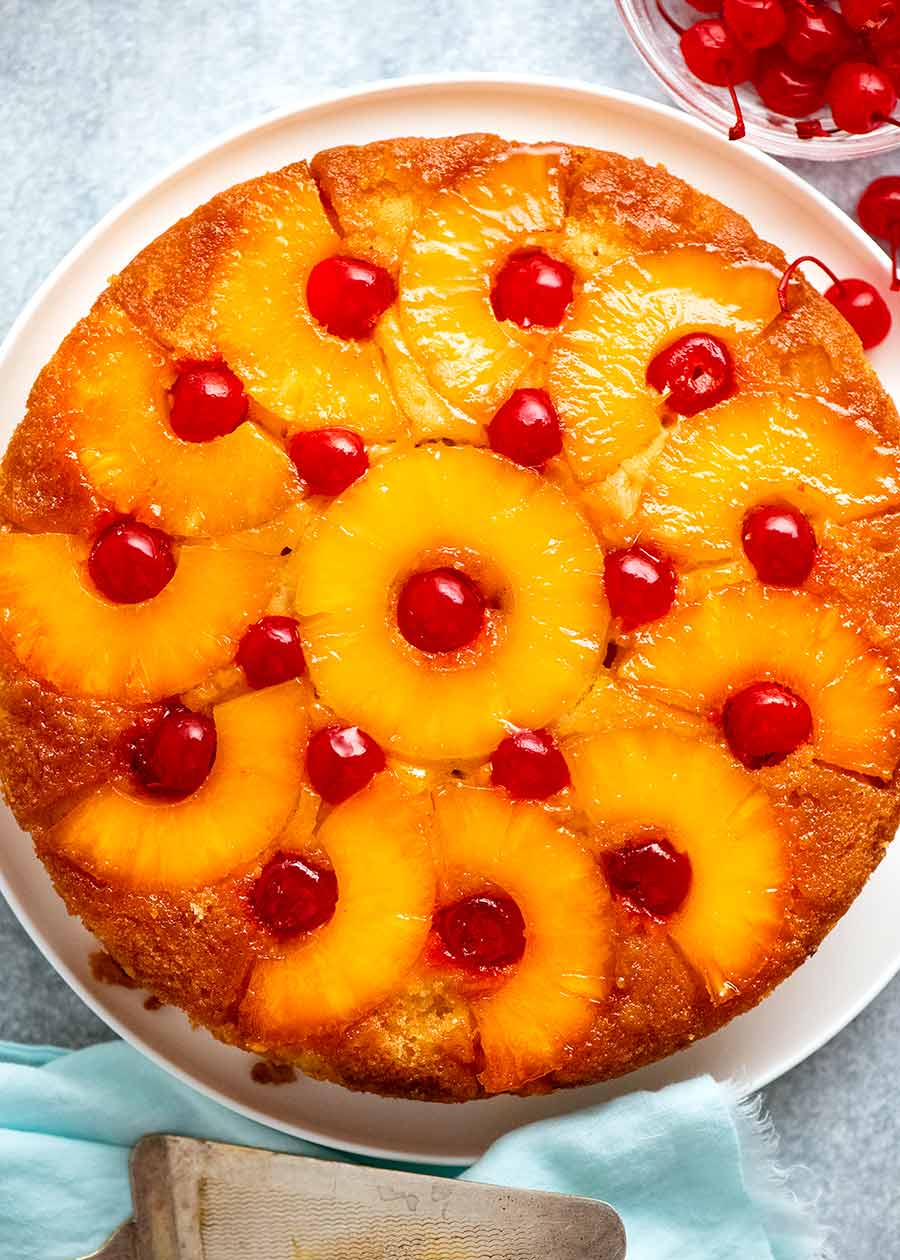
Pineapple Upside-Down Cake, Gluten Free
A buttery sour cream cake baked over a dark brown sugar caramel and golden pineapple rings, then flipped while warm so the glaze soaks down into the crumb. It's the retro showstopper that takes about fifteen minutes of real work.
Ingredients
Makes one 9-inch cake
Caramel topping
Cake
Instructions
- 1
Heat the oven and dry the fruit
Set a rack in the lower third of the oven and heat to 350°F. Grease a 9-inch round cake pan that is at least 2 inches deep and line the bottom with a parchment round. Drain the pineapple over a bowl and keep 1/4 cup of the juice for the batter. Lay the rings and cherries on paper towels and blot them well on both sides. Fruit that goes into the pan wet releases that water into the caramel and leaves you with a soggy, pale top.
- 2
Build the caramel layer
Pour the melted butter evenly over the bottom of the pan, then sprinkle the dark brown sugar over it in a smooth layer, breaking up any lumps with your fingers. Resist the urge to stir the two together. The sugar melts into the butter in the oven and sets into a glossy caramel; stirring now just makes it grainy.
- 3
Arrange the pineapple
Place one ring dead center and fit the remaining six around it, nudging them close but not overlapping. Press a cherry into the hole of each ring and tuck the extras into the gaps around the edge. Press everything down gently so it sits flush in the sugar. Whatever pattern you make now is exactly what you'll see when you flip the cake, so take the extra thirty seconds.
- 4
Whisk the dry ingredients
In a medium bowl, whisk the gluten-free flour blend, baking powder, baking soda, and salt together for a good fifteen seconds. Check your blend's label first: if it already lists xanthan gum or guar gum, leave the xanthan out entirely. Doubling up on binder is what makes gluten-free cake turn gummy and dense. If your blend has no binder, whisk the xanthan gum in here with the other dry ingredients.
- 5
Cream the butter and sugar
Beat the softened butter and granulated sugar in a large bowl on medium-high speed for 3 to 4 minutes, until noticeably paler and fluffy. Scrape the bowl once partway through. This step whips air into the fat, and that air is most of what keeps the crumb light enough to sit under heavy pineapple rings.
- 6
Add the eggs and sour cream
Beat in the eggs one at a time, mixing about 30 seconds after each, then add the sour cream and vanilla and mix until smooth. If the mixture looks curdled, your eggs or sour cream were too cold; keep mixing and it will come back together.
- 7
Alternate the flour and liquid
Stir the reserved pineapple juice and milk together in a measuring cup. With the mixer on low, add the dry mixture in three additions alternating with the liquid in two, starting and ending with the dry. Unlike wheat batter, you can't overmix this one into toughness, so beat it on medium for a final 30 seconds to fully hydrate the starches and smooth it out.
- 8
Rest the batter 25 minutes
Cover the bowl and leave the batter on the counter for 25 minutes. The rice flours and starches in a gluten-free blend absorb liquid slowly, and skipping this is what gives gluten-free cakes a gritty, sandy bite. The batter will thicken visibly and look smoother and glossier when it's ready. Don't stir in extra liquid to thin it back out.
- 9
Spread the batter over the fruit
Drop the rested batter over the pineapple in large spoonfuls spaced around the pan, then gently spread it to the edges with an offset spatula. It will be thicker and less self-leveling than wheat batter, so take your time working it into the gaps between the rings. Rap the pan on the counter two or three times to settle it.
- 10
Bake
Bake for 45 to 52 minutes. Gluten-free batter needs a little longer to set and holds more moisture, so lean on the thermometer over the toothpick: the center should read 205 to 210°F. The top will be deep golden and spring back when pressed. An underbaked gluten-free cake collapses when you invert it, so give it the extra few minutes if you're unsure.
- 11
Rest 10 minutes, then invert
Set the pan on a wire rack for exactly 10 minutes. Run a thin knife around the edge, place a serving plate upside down over the pan, and flip in one confident motion. Leave the pan in place for a minute, then lift it away. This window matters even more here, since gluten-free crumb is at its most fragile hot from the oven and firms up considerably as it cools.
- 12
Patch and serve
Press any fruit or caramel that stuck to the pan back into place while it's warm and pliable. Let the cake cool at least 20 minutes before slicing; gluten-free cake sets its structure as it cools and cuts far more cleanly warm than hot.
You did it! Help us bring baking back home by selling your delicious baked goods on Homebaked!
Baker's Tips
- 1.
Blotting the pineapple and cherries dry is the single highest-impact thing you can do here. Canned fruit carries a surprising amount of surface liquid, and it dilutes the caramel into syrup.
- 2.
A 10-inch cast-iron skillet works beautifully in place of the cake pan. Melt the butter right in the skillet, sprinkle the sugar over it, and bake as written; start checking at 35 minutes since the cake is shallower.
- 3.
Fresh pineapple is lovely but wetter and firmer than canned. Cut 1/2-inch rings, core them, and sauté in a little butter for 3 to 4 minutes per side to drive off moisture and soften them before arranging.
- 4.
Cold butter won't cream, and cold eggs or sour cream will seize the creamed mixture. If you forgot to set them out, put the eggs in warm water for 5 minutes and microwave the sour cream for 10 seconds.
- 5.
The caramel will look alarmingly thin and bubbly when the cake comes out of the oven. It thickens as it cools, which is exactly why the 10-minute rest before flipping matters.
- 6.
For a darker, more complex caramel, swap 2 tablespoons of the dark brown sugar for an equal amount of unsulphured molasses, or add a pinch of flaky salt over the sugar layer.